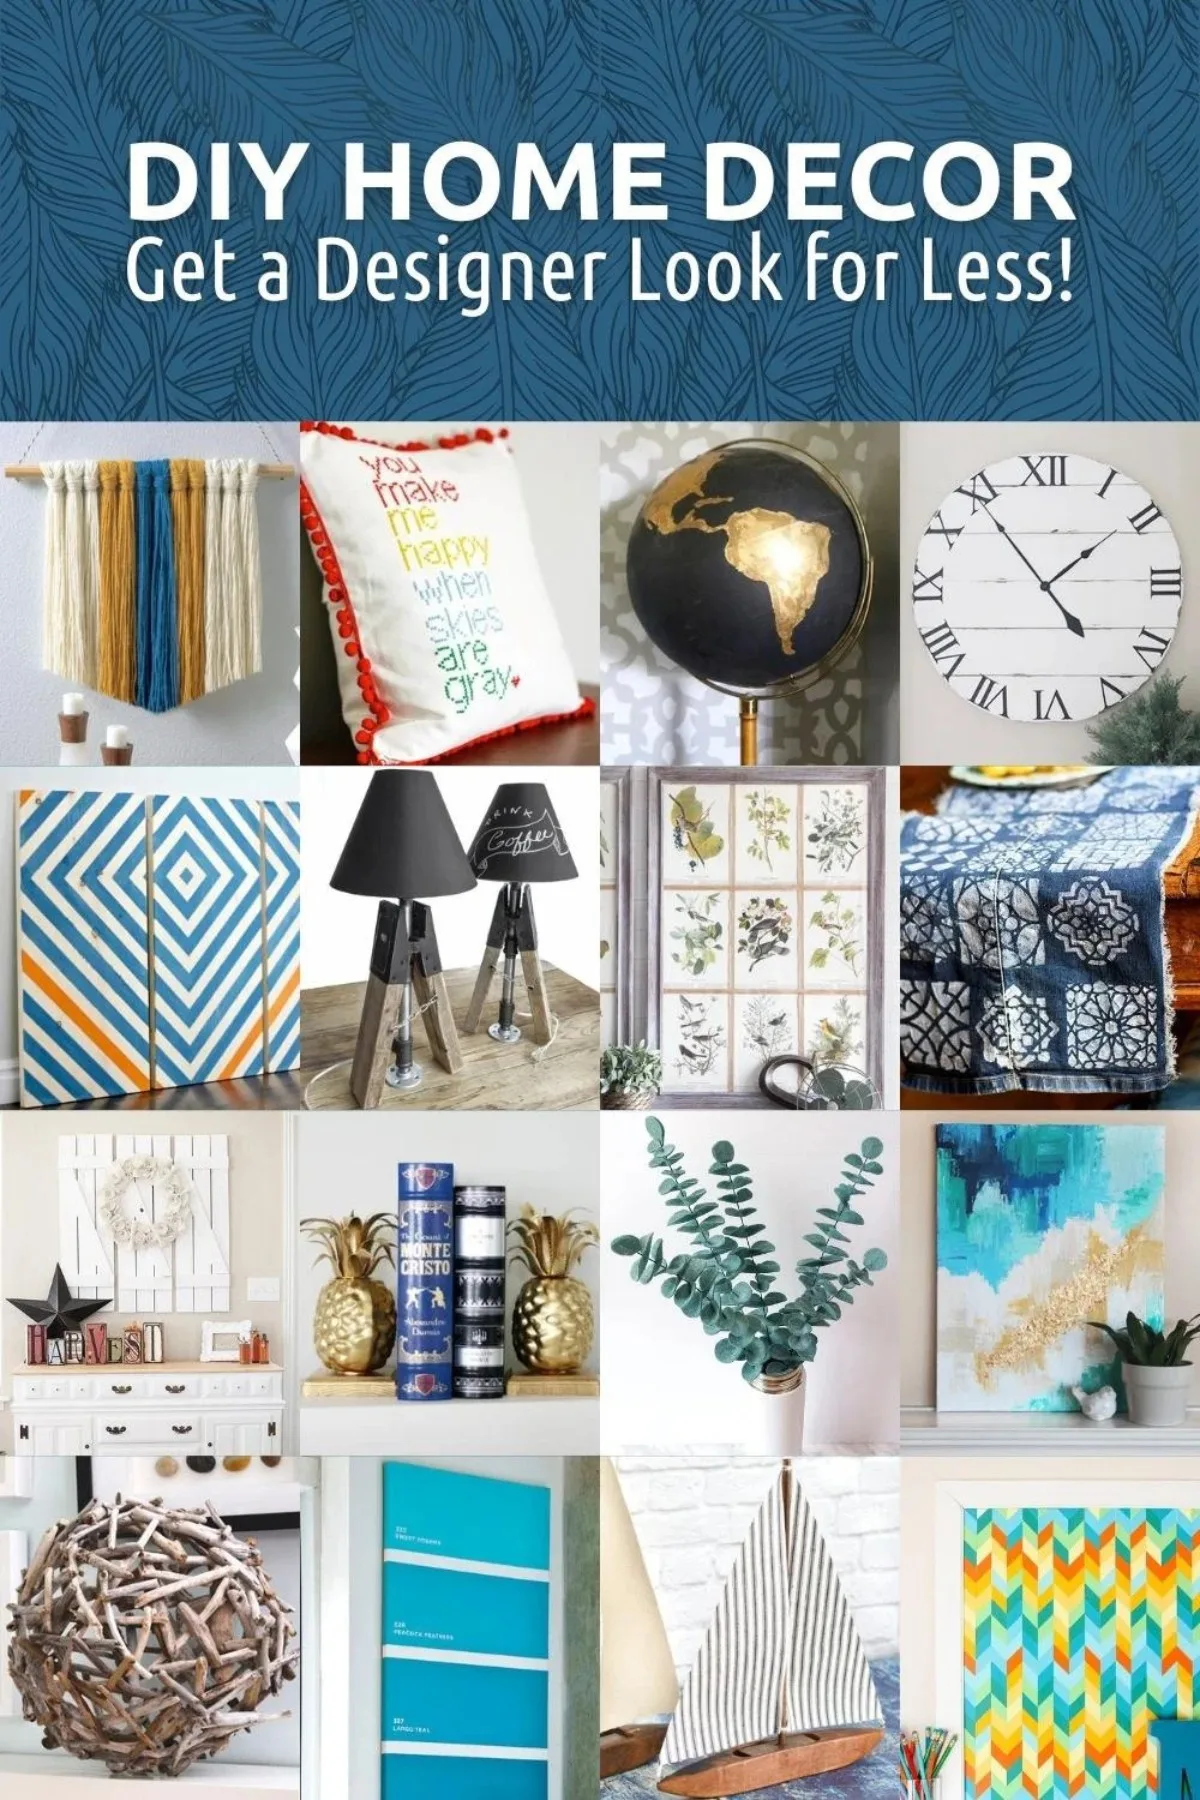
Embarking on a journey to transform your living space is a remarkable endeavor that allows you to infuse your personality into every nook and cranny. With a touch of ingenuity, determination, and resourcefulness, you can create a home that is uniquely yours, showcasing your personal style and artistic flair. Ditch the monotonous mass-produced decor options and embrace the joy of do-it-yourself projects that not only add a personal touch but also save you money.
Imagine the satisfaction of crafting your own personalized decor pieces, transforming ordinary objects into extraordinary works of art. Whether you’re a seasoned DIY enthusiast or just dipping your toes into the creative waters, these six DIY projects are sure to spark your imagination and inspire you to step outside your comfort zone.
Revolutionize Your Health & Lifestyle!
Dive into the world of Ketogenic Diet. Learn how to lose weight effectively while enjoying your meals. It's not just a diet; it's a lifestyle change.
Learn MoreUnleash your inner designer as you repurpose everyday items into statement pieces that reflect your individuality. Whether it’s revamping an old dresser with a fresh coat of paint and whimsical drawer pulls or creating a captivating gallery wall using thrifted frames and your favorite photographs, the possibilities are endless. Embrace the thrill of breathing new life into forgotten treasures, turning them into conversation starters that make your house truly feel like a home.
- Unleash Your Creativity with Do-It-Yourself Home Decoration Ideas: Six Inspiring Projects
- 1. Transform Your Space with Upcycled Furniture
- 2. Craft Beautiful Wall Hangings with Nature-inspired Materials
- 3. Personalize Your Space with Handmade Artwork
- 4. Create Eye-catching Planters with Everyday Objects
- 5. Design Beautiful Table Centerpieces with Found Objects
- 6. Add Character with DIY Textile Projects
- Transform Your Walls
- Revamp Your Space with Wall Stencils
- Benefits of Using Wall Stencils
- Tips for Using Wall Stencils
- Create a Statement Wall with Wallpaper
- Add Dimension with DIY Painted Murals
- Update Your Furniture
- Give Old Furniture a Fresh Look with Chalk Paint
- Create Custom Upholstery with Fabric and a Staple Gun
- Add a Pop of Color with Spray Paint
- Repurpose Everyday Items
- Transform Mason Jars into Charming Rustic Candle Holders
- Questions and answers
Unleash Your Creativity with Do-It-Yourself Home Decoration Ideas: Six Inspiring Projects
In this section, we will explore a range of imaginative and innovative ways to enhance the aesthetics of your living space by incorporating DIY elements. Delve into the realm of artisanal craftsmanship and revitalize your home with these six inspiring projects that are sure to ignite your creative spirit.
1. Transform Your Space with Upcycled Furniture
Discover the art of repurposing old furniture pieces, breathing new life into forgotten treasures. Explore techniques such as reupholstering, refinishing, or adding whimsical designs to create unique and personalized pieces that showcase your individual style.
2. Craft Beautiful Wall Hangings with Nature-inspired Materials
Embrace the beauty of nature by incorporating organic materials into your wall decor. Gather twigs, seashells, feathers, or dried flowers to create stunning wall hangings that bring the outdoors inside and add a touch of rustic charm to any room.
3. Personalize Your Space with Handmade Artwork
Express your artistic side by creating custom artwork for your walls. Experiment with different mediums such as paint, collage, or mixed media to design one-of-a-kind pieces that reflect your personality and add a personal touch to your home.
4. Create Eye-catching Planters with Everyday Objects
Transform ordinary objects into unique planters to showcase your favorite greenery. Repurpose items like old teapots, vintage tin cans, or colorful mason jars to add a whimsical touch to your indoor or outdoor garden.
5. Design Beautiful Table Centerpieces with Found Objects
Turn everyday objects into stunning table centerpieces to elevate your dining experience. Explore ways to repurpose vintage bottles, antique books, or driftwood to create visually captivating displays that become the focal point of any gathering.
6. Add Character with DIY Textile Projects
Upgrade your home decor with handmade textile projects that bring warmth and personality to your space. From macrame wall hangings to hand-stitched pillows, delve into the world of fabric and yarn to create unique pieces that reflect your personal style.
Embark on a creative journey and transform your home into a personalized sanctuary with these six DIY projects. Let your imagination run wild as you infuse your living space with your unique artistic vision.
Transform Your Walls
Revamp your living space by giving your walls a fresh new look. Discover innovative ways to completely change the atmosphere and style of your room with these unique and easy DIY projects. Enhance the character and personality of your home, using creativity and imagination to bring a touch of individuality to your walls.
Rediscover the art of wall tapestries, breathing life into your space with intricate designs and patterns that add depth and texture to your walls. Embrace the versatility of wall tapestries and experiment with different colors and motifs to create a captivating focal point that reflects your personal style.
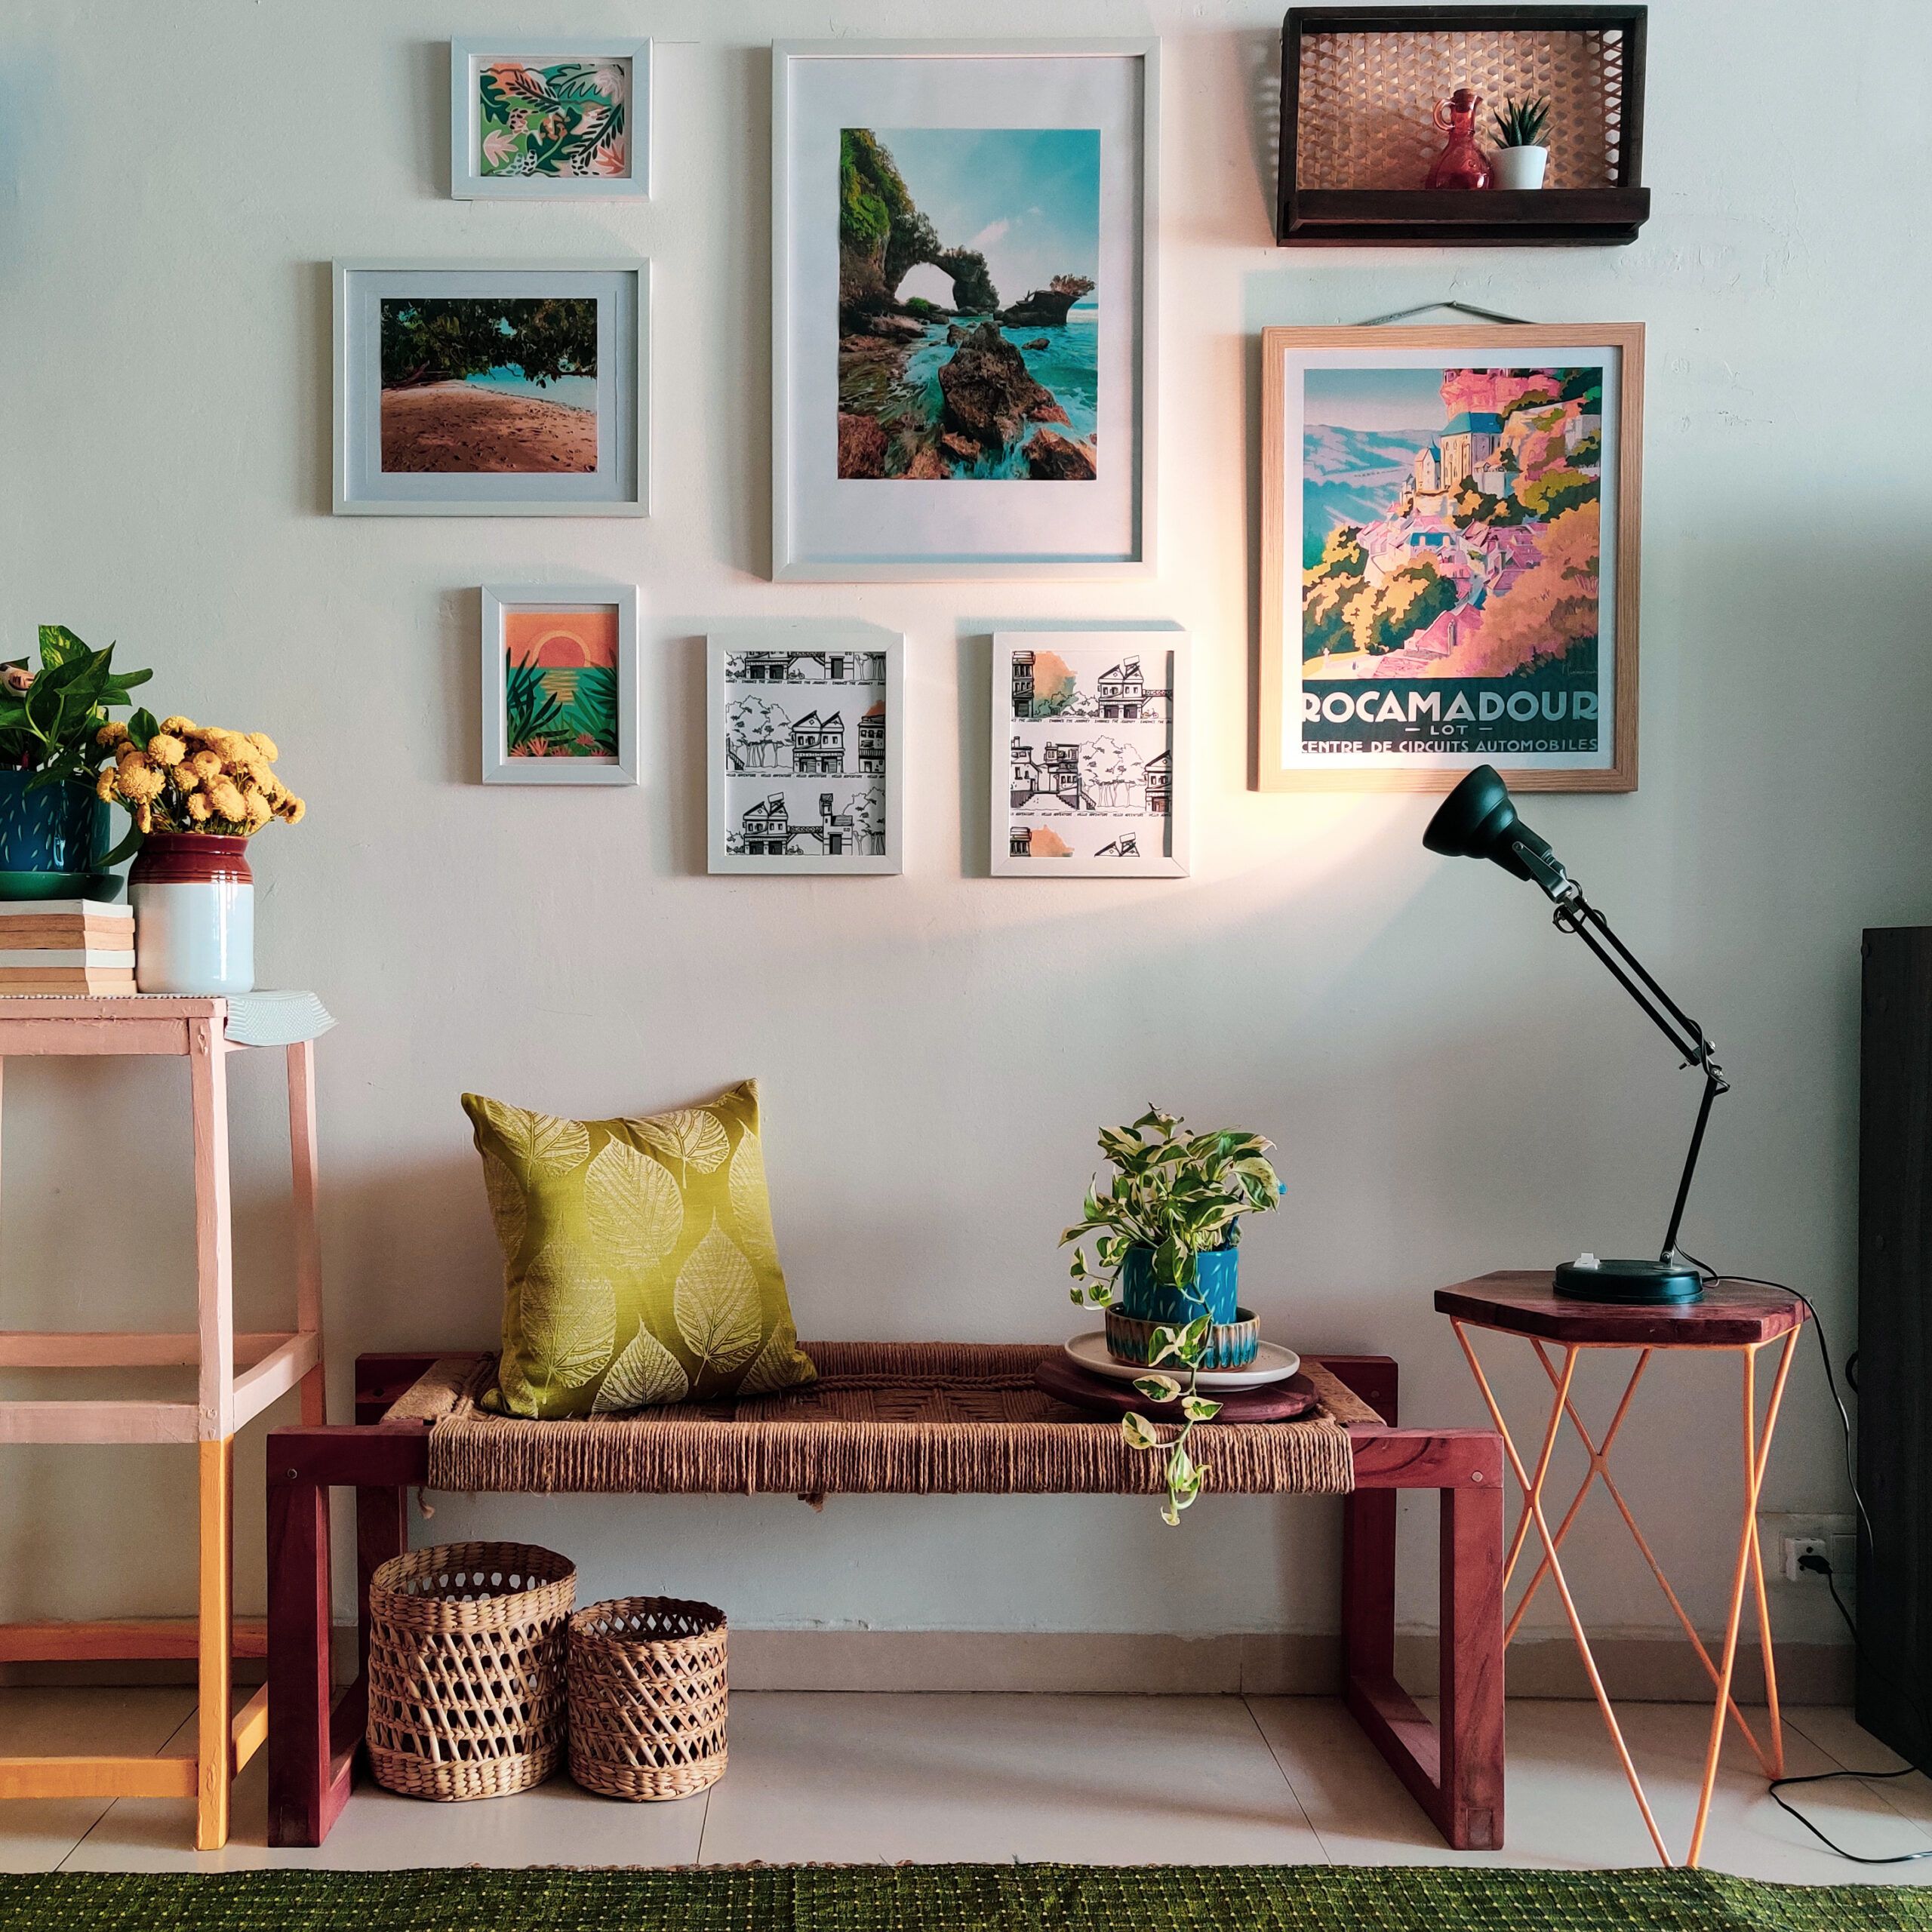
For a more understated yet elegant look, consider the power of a well-placed gallery wall. Display your favorite photographs, artwork, and sentimental items in a cohesive and visually appealing arrangement. Showcase your unique taste and memories by playing with different frame sizes, layouts, and mix of art and personal mementos.
Bring the outdoors inside by incorporating living walls into your decor. Embrace the beauty of nature and transform your walls into lush vertical gardens. Experiment with a variety of plants and textures to create a stunning and refreshing display. Not only will a living wall add visual interest, but it will also improve indoor air quality and create a soothing ambiance.
Allow light to become an integral part of your wall design by utilizing hanging lanterns and fairy lights. Create a cozy and enchanting atmosphere by strategically placing these illuminating elements, allowing them to cast a warm and welcoming glow. Play with different light colors and intensities to create the desired ambiance for any occasion.
Add depth and dimension to your walls by incorporating decorative mirrors. Choose varying shapes and sizes to reflect light and create the illusion of a larger space. Mirrors can also be positioned strategically to highlight specific areas or bring attention to unique architectural features.
Elevate your walls from mere boundaries to artistic expressions by experimenting with these transformative DIY projects. Infuse your home with personality, style, and inspiration, turning your walls into captivating focal points that leave a lasting impression. Get ready to embark on a creative journey and unleash your imagination to transform your living space like never before.
Revamp Your Space with Wall Stencils
Enhance the ambiance of your living space by incorporating the artistry of wall stencils into your decor. Transform your plain, drab walls into stunning focal points that reflect your unique style and taste. With a wide array of stencil designs, colors, and patterns available, you can effortlessly breathe new life into any room of your home.
Using wall stencils is a creative and cost-effective way to revitalize your space. Stencils allow you to achieve the look of expensive wallpaper or intricate hand-painted designs without the hefty price tag. Whether you’re looking to add a subtle touch of elegance or make a bold statement, there is a stencil design to suit every aesthetic.
Utilizing wall stencils is a DIY project that doesn’t require advanced artistic skills. With a simple stencil, some paint, and a steady hand, you can easily create beautiful patterns and motifs on your walls. Experiment with different color combinations and techniques to achieve the desired effect. The versatility of stencils allows you to customize your space and express your personal style in a unique way.
One of the advantages of using wall stencils is the ability to easily change up your decor as your tastes evolve. Unlike wallpaper or wall decals, stencils can be easily painted over or removed, giving you the freedom to update your space whenever inspiration strikes. This flexibility ensures that your home remains a reflection of your evolving personality and design preferences.
Benefits of Using Wall Stencils
|
Tips for Using Wall Stencils
|
In conclusion, wall stencils offer a world of possibilities when it comes to transforming your living space. Embrace your creativity and experiment with different stencil designs and techniques to breathe new life into your walls. Whether you prefer a subtle and sophisticated look or a bold and vibrant statement, wall stencils provide you with the tools to truly make your space your own.
Create a Statement Wall with Wallpaper
Elevate your home decor with a bold and eye-catching statement wall using the timeless beauty of wallpaper. Through clever and creative application, you can transform any room into a unique and stylish space that perfectly reflects your personal style and adds a touch of sophistication to your home.
When it comes to creating a statement wall with wallpaper, the possibilities are endless. Whether you opt for a subtle and elegant design or a vibrant and daring pattern, the key is to choose a wallpaper that complements the overall aesthetic of your space while making a distinctive impact.
- Firstly, consider the room’s purpose and the atmosphere you want to create. For a dramatic effect, go for a wallpaper with rich colors and intricate patterns, perfect for a living room or dining area.
- Add depth and dimension to your space by using wallpaper with textured surfaces, such as grasscloth or embossed patterns. This will create a captivating visual and tactile experience.
- Don’t be afraid to mix and match different wallpaper designs to make a bolder statement. Combining patterns and textures can add visual interest and break up the monotony of a single design.
- If you’re looking for a more subtle yet striking statement, consider a metallic or reflective wallpaper. This will add a touch of glamour and sophistication to your space.
- When applying wallpaper to your statement wall, make sure to properly measure the wall and cut the wallpaper accordingly. Take your time to ensure a seamless and professional-looking finish.
- Lastly, remember that maintenance is key. To keep your statement wall looking fresh and vibrant, regularly clean the wallpaper using a soft cloth or sponge, and avoid using harsh chemicals that may damage the surface.
With these tips in mind, you can unleash your creativity and create a statement wall that will leave a lasting impression on anyone who enters your home. So, why wait? Start exploring the world of wallpaper and let your walls reflect your unique style and personality.
Add Dimension with DIY Painted Murals
Elevate your home decor to the next level by incorporating the art of painted murals. These visually stunning creations not only add depth and dimension to your space, but also provide a unique and personalized touch. By taking control of the brush and transforming your walls, you can unleash your artistic expression and create a one-of-a-kind atmosphere.
Embrace the opportunity to escape traditional wall decor and delve into the world of DIY painted murals. Through the stroke of a brush, you can transform a blank canvas into a captivating scene, filling your space with beauty and inspiration. From vibrant abstract designs to intricate landscapes, the possibilities are endless when it comes to adding depth to your walls.
Painted murals have the power to transport you to another place or evoke a specific mood in your home. Adorn your walls with a breathtaking mountain landscape, a serene beach scene, or a whimsical floral garden. Each stroke of paint allows you to infuse your own personal style and tell a story that is unique to you.
Not only do DIY painted murals enhance the appearance of your home, but they also offer a cost-effective alternative to traditional artwork. Instead of investing in expensive paintings or prints, you can create your own masterpieces and customize them to perfectly fit your space. The satisfaction of knowing that you’ve handcrafted a work of art for your walls is an added bonus.
Unleash your creativity and embark on a journey of self-expression with DIY painted murals. Embrace the rich colors, intricate patterns, and artistic freedom that this form of home decor provides. Whether you’re a seasoned artist or a novice with a passion for creativity, painting murals offers an exciting and fulfilling way to add dimension and beauty to your living space.
Update Your Furniture
Elevate the style of your living space and give your furniture a fresh, new look with these innovative DIY projects. Discover creative ways to transform your favorite pieces without breaking the bank or relying on generic store-bought options.
- Breathe new life into your tired furniture by reupholstering it. Choose from a wide variety of fabrics, patterns, and textures to create a customized look that matches your personal style. With a little patience and creativity, you can turn a plain chair or sofa into a unique statement piece.
- Embrace the art of stenciling to add a touch of elegance and charm to your furniture. From dressers to side tables, create intricate patterns or bold designs to make your furniture stand out. Use stencils and acrylic paint to easily achieve professional-looking results.
- Revamp your wooden furniture with a fresh coat of paint. Experiment with different colors to create a bold, eclectic look or opt for a classic monochromatic scheme. Sand and prime your furniture before painting to ensure a smooth, long-lasting finish. Don’t forget to add unique hardware for an extra touch of style.
- Give your furniture a rustic makeover by distressing it. Embrace the beauty of imperfections by sanding, scraping, or using a chisel to create a weathered look. Whether you prefer a shabby chic or farmhouse-inspired style, distressed furniture adds character and a touch of vintage charm to any room.
- Add personality and functionality to your furniture with decorative knobs and handles. Swap out plain knobs and handles with unique and eye-catching ones to instantly update your furniture. Consider mixing and matching different styles and finishes for a truly eclectic look.
- Create custom furniture pieces by repurposing old items or salvaging forgotten pieces. Turn an old door into a headboard, transform vintage suitcases into stylish storage solutions, or repurpose wooden pallets into unique coffee tables. The possibilities are endless when it comes to breathing new life into forgotten treasures.
Don’t be afraid to unleash your creativity and make a statement with your furniture. These DIY projects will not only save you money but also give your home a personal touch that cannot be replicated in store-bought pieces. Update your furniture today and transform your living space into a stylish and cozy haven.
Give Old Furniture a Fresh Look with Chalk Paint
If you’re looking to breathe new life into old furniture pieces, consider using chalk paint for a unique and stylish transformation. Chalk paint provides a versatile and creative way to update your furniture without the need for extensive preparation or special skills.
Chalk paint, also known as chalky finish paint, is a type of paint that has a matte, velvety appearance and a comfortable, antiqued finish. It can adhere to various surfaces, including wood, metal, and plastic, allowing you to rejuvenate a wide range of furniture items.
One of the greatest advantages of using chalk paint is its ease of use. Unlike traditional paints, chalk paint typically requires minimal surface preparation. You don’t need to sand or prime the furniture before applying chalk paint, making it a perfect choice for DIY enthusiasts of all skill levels.
Another benefit of using chalk paint is its ability to create a distressed or aged look. By lightly sanding or distressing the painted surface, you can achieve a charming vintage appearance that adds character and depth to your furniture. Chalk paint also allows you to experiment with different techniques, such as layering colors or creating a washed effect, giving you endless opportunities for creativity.
When using chalk paint, it’s important to seal the finished surface to protect it from wear and tear. You can use a clear wax or a topcoat to add durability and a subtle sheen to your painted furniture. Additionally, you can further customize your furniture by applying decorative finishes, such as stencils, transfers, or distressing glazes.
| Key Points: |
|---|
| – Chalk paint offers a versatile and creative way to update old furniture |
| – No extensive preparation or special skills required |
| – Creates a matte, velvety appearance with an antiqued finish |
| – Allows for distressed and aged looks |
| – Endless opportunities for creativity |
With chalk paint, you can transform your old furniture into unique statement pieces that reflect your personal style. So, unleash your creativity and give your furniture a fresh and exciting look with the magic of chalk paint!
Create Custom Upholstery with Fabric and a Staple Gun
Enhance the uniqueness of your home decor by adding a personal touch to your furniture through custom upholstery. Transform your plain and ordinary pieces into stunning works of art that reflect your individual style. With just fabric and a staple gun, you can breathe new life into your chairs, sofas, ottomans, and more.
Custom upholstery allows you to express your creativity and create a cohesive look throughout your living space. Choose fabrics that complement your existing color scheme or add a pop of vibrant color to make a bold statement. Experiment with different patterns, textures, and designs to bring personality and character to your furniture.
A staple gun is a versatile tool that enables you to securely attach the fabric to the furniture frame. It allows for precise and professional-looking upholstery, ensuring that the fabric stays in place for years to come. With the right technique, you can achieve a seamless finish and achieve professional-grade results.
Before starting your upholstery project, it’s important to measure and prepare your furniture properly. Take accurate measurements of the pieces you’ll be upholstering and estimate the amount of fabric you’ll need. Remove any existing fabric or padding, and clean the furniture thoroughly to create a clean canvas for your custom upholstery.
Once you’re ready, lay out the chosen fabric and cut it to size, leaving extra fabric for tucking and stapling. Begin by securing the fabric to the furniture frame using the staple gun, starting from the center and working your way outwards. Pull the fabric tight to create a smooth and wrinkle-free finish, and staple it securely along the entire edge.
Continue stapling and pulling the fabric until it covers the entire piece of furniture, making sure to trim any excess fabric as needed. Pay attention to corners and curves, as these areas may require additional folding and stapling techniques for a neat and tailored look. Add decorative elements such as buttons or trimmings for an extra touch of elegance.
Custom upholstery not only adds visual appeal to your furniture but also offers practical benefits. It protects the underlying structure from wear and tear, extends the lifespan of your furniture, and gives you the freedom to update your decor without investing in new pieces. Embrace your creativity and create custom upholstery that reflects your unique style and personality.
Add a Pop of Color with Spray Paint

Inject vibrancy and personality into your living space with the simple and affordable technique of spray painting. By infusing everyday objects with a burst of color, you can instantly transform the ambiance of any room. Say goodbye to dull and monotonous decor, and embrace the creative possibilities that spray paint offers.
|
1. Revamp Furniture Breathe new life into tired or outdated furniture pieces by giving them a fresh coat of spray paint. Whether it’s a wooden chair, a metal side table, or a plastic storage unit, the options are endless. Experiment with bold and vibrant hues to make a statement, or opt for soothing pastels to create a calming atmosphere. |
2. Transform Vases and Jars Turn ordinary glass vases and jars into eye-catching centerpieces by spray painting them in exciting colors. Mix and match different shades to create a unique ombre effect, or apply stencils for a chic patterned look. These revamped vases and jars will add a touch of artistic flair to any room. |
|
3. Accentuate Home Accents Spray paint can be used to highlight and enhance small accents in your home. Give a fresh coat to picture frames, candle holders, or even drawer knobs to instantly elevate their visual appeal. The beauty of spray paint lies in its ability to add a pop of color and unite different elements within a space. |
4. Create Wall Art Unleash your inner artist by using spray paint to create custom wall art. From abstract canvases to stenciled designs, the possibilities are endless. Incorporate different colors and techniques to achieve the desired effect. Express yourself through unique and personalized artwork that will transform any wall into a focal point. |
|
5. Personalize Planters Add a personal touch to your planters by spray painting them in vibrant colors. Whether you have ceramic pots or terracotta planters, a fresh coat of paint will instantly revitalize them. Mix and match different colors to create a playful and eclectic display of greenery in your home. |
6. Upcycle Home Accessories Give a new lease on life to old home accessories by upcycling them with spray paint. From outdated lamps to worn-out decorative objects, a fresh coat of paint can breathe new life into these items. Experiment with metallic finishes or combine multiple colors to create a one-of-a-kind piece that reflects your personal style. |
By adding a pop of color with spray paint, you can unleash your creativity and transform your home decor into a reflection of your unique style. Whether you choose to revamp furniture, create wall art, or personalize small accents, the possibilities are endless. Embrace the power of spray paint and elevate your home with a burst of color.
Repurpose Everyday Items
In this section, we explore the concept of giving new life to ordinary objects found in your everyday life. Instead of discarding them or letting them gather dust, we encourage you to see the potential in these items and unleash your creativity to transform them into stunning pieces of home decor. By repurposing these everyday items, you not only add charm and personality to your living space but also contribute to a more sustainable and eco-friendly lifestyle.
Discover the art of repurposing as you tap into your resourcefulness and imagination to breathe fresh life into old, forgotten objects. Think beyond their original purpose and consider innovative ways to use them in your home decor projects. Get ready to unleash your inner artist as we share six inspiring and do-it-yourself ideas that will spark your creativity and make your space truly unique.
From repurposing glass jars as chic candle holders to turning vintage suitcases into stylish storage solutions, the possibilities are endless. Embrace the beauty of imperfection and let the character of each item shine through as you see the potential in even the most mundane objects. With a little ingenuity and some basic crafting supplies, you can create one-of-a-kind pieces that will not only enhance your home but also become conversation starters among your guests.
Give a new lease of life to empty wine bottles by transforming them into elegant vases or table centerpieces. Reimagine wooden crates as rustic shelves or trendy planters for your indoor greenery. Challenge yourself to repurpose old picture frames into stylish tray tables or unique wall art. With the right inspiration and a bit of elbow grease, you can turn discarded items into treasures that reflect your personal style and add a touch of whimsy to your living space.
By repurposing everyday items, you not only save money by giving new purpose to items you already have, but you also reduce waste and minimize your ecological footprint. Each repurposed item becomes a statement piece that tells a story and brings a sense of nostalgia and individuality to your home. So, gather your materials, put on your creative hat, and let your imagination run wild as you embark on these DIY projects to transform your home decor.
Transform Mason Jars into Charming Rustic Candle Holders
Add a touch of rustic charm to your home decor with these simple yet stunning DIY projects. By repurposing ordinary mason jars, you can create unique and eye-catching candle holders that will instantly enhance the ambiance of any space. Embrace your creativity and embark on these fun crafts to bring warmth and coziness to your living spaces.
1. Country Chic Candle Holders:
- Start by wrapping twine or jute around the upper rim of the mason jar, securing it with glue.
- Next, add a layer of lace ribbon or burlap around the middle of the jar, securing it in place with a small knot or decorative charm.
- For the finishing touch, place a pillar candle inside the jar and light it up to create a warm and cozy atmosphere.
2. Nature-inspired Candle Holders:
- Collect small branches, pinecones, or dried leaves from your backyard or a nearby park.
- Using a hot glue gun, securely attach the natural elements to the exterior of the mason jar, creating a rustic design.
- Once the glue has dried, insert a small votive or tea light candle inside the jar and enjoy the enchanting glow.
3. Vintage Elegance Candle Holders:
- Find vintage doilies or delicate lace fabric from thrift stores or online marketplaces.
- Cut the fabric into strips or small squares to fit around the mason jar.
- Using a transparent adhesive, carefully apply the fabric to the jar, creating an elegant and vintage-inspired design.
- Place a scented candle inside the jar and let the soft light and delicate patterns mesmerize your guests.
4. Beachy Vibes Candle Holders:
- Gather small seashells, sea glass, or smooth pebbles from your last beach vacation.
- Using a strong adhesive suitable for glass, carefully attach the coastal elements to the exterior surface of the mason jar, creating a beach-themed look.
- Once the glue has completely dried, place a tealight candle inside the jar and let the gentle flickering mimic the soothing waves.
5. Personalized Candle Holders:
- Print out your favorite quotes, phrases, or meaningful words on transparent or translucent paper.
- Cut the paper into strips or small squares and wrap them around the mason jar, securing them with a light adhesive or tape.
- Add a scented or colored candle inside the jar, and let the personalized messages bring warmth and inspiration to your evenings.
6. Festive Holiday Candle Holders:
- During the holiday season, decorate mason jars with festive ribbons, ornaments, or artificial pine branches.
- Fill the jar with a seasonal scented candle, such as cinnamon or pine, and light it up to create a magical and cozy atmosphere.
- Experiment with different colors and textures to match your holiday theme and spread the joy throughout your home.
With these DIY projects, you can turn ordinary mason jars into beautiful and rustic candle holders. Let your creativity flow and enjoy the warm glow and enchanting ambiance that they bring to your home decor.
Questions and answers
What are some DIY projects to inspire home decor?
There are 6 DIY projects mentioned in the article that can inspire home decor. These projects include creating a gallery wall, making personalized photo coasters, repurposing old items, designing custom wall art, crafting a terrarium, and making your own candles.
Are these DIY projects suitable for beginners?
Yes, these DIY projects are suitable for beginners. The article provides step-by-step instructions and tips to help beginners successfully complete these projects. It also includes various ideas and suggestions for customization to make them more personalized.
Do I need any special tools or equipment for these DIY projects?
Most of the DIY projects mentioned in the article can be done with basic tools and materials that are easily available. However, depending on the specific project, you may need some additional tools such as a hot glue gun, a craft knife, or a drill. The article provides a list of materials and tools required for each project.
Can these DIY projects be done on a budget?
Yes, these DIY projects can be done on a budget. The article focuses on using affordable materials and items that can be found at home or purchased at a low cost. It also suggests alternative options and ways to save money while still achieving stylish and creative home decor.
Are there any safety precautions to consider while doing these DIY projects?
Yes, it is important to take safety precautions while doing these DIY projects. The article advises wearing protective gear such as gloves and goggles when necessary. It also suggests working in a well-ventilated area and following instructions carefully to avoid any accidents or injuries.
What are some creative DIY projects for home decor?
Some creative DIY projects for home decor include making your own wall art using various materials such as reclaimed wood or fabric, repurposing old furniture, creating custom shelves or organizers, designing unique throw pillows or cushion covers, and experimenting with different painting techniques for furniture or walls.
How can I make my own wall art for home decor?
You can make your own wall art for home decor by using materials such as reclaimed wood or fabric. For example, you can create a wooden plank art by painting an abstract design on a piece of reclaimed wood and hanging it on the wall. Alternatively, you can use a piece of fabric with a bold pattern or print and stretch it over a wooden frame to create a unique fabric wall art.
What are some ideas for repurposing old furniture?
There are several ideas for repurposing old furniture. One popular option is to transform a dresser into a kitchen island by adding a countertop and wheels. Another idea is to turn an old door into a headboard by sanding and painting it, then attaching it to the bed frame. Additionally, you can convert an old ladder into a bookshelf by adding shelves to the rungs.
How can I create custom shelves or organizers for home decor?
You can create custom shelves or organizers for home decor by using materials such as wooden crates or pallets. For instance, you can arrange a few wooden crates in an interesting pattern, such as a pyramid or staggered layout, and mount them on the wall to create unique shelving. Alternatively, you can repurpose a wooden pallet by attaching hooks, knobs, or baskets to create a custom organization system.
What are some different painting techniques I can use for home decor?
There are various painting techniques you can use for home decor. One option is the ombre effect, where you gradually blend different shades of a color on a wall or piece of furniture. Another technique is stenciling, where you use a stencil to create a repeated pattern on a wall or fabric. You can also try distressing furniture by sanding and painting it in a way that gives it a more aged and rustic look.