Indulging in delectable confections is always a joyous occasion, especially during the Easter season. If you’re looking to add a touch of creativity to your dessert repertoire, why not venture into the world of cake pops? These delightful bite-sized treats are not only visually appealing but also incredibly delicious!
Discover the art of crafting Easter cake pops with our comprehensive guide, filled with step-by-step instructions and ingenious decorating ideas. Unleash your inner pastry chef as you learn how to transform ordinary cake pops into whimsical and eye-catching creations that will surely impress both young and old alike.
Embrace the joy of baking as you explore different techniques in molding, shaping, and dipping these miniature delights. With our easy-to-follow instructions, you’ll be able to create a variety of themed designs, from adorable bunnies and chicks to beautifully decorated Easter eggs. Let your imagination run wild and bring your own unique touches to each creation, making your cake pops a centerpiece of any Easter celebration!
- Getting Started: Preparing the Cake and Materials
- Choose Your Cake Flavor
- Gather Your Ingredients and Tools
- Bake and Cool the Cake
- Crumbling and Mixing: Creating the Cake Pop Dough
- Crumble the Cake
- Add the Binding Agent
- Mix and Shape the Dough
- Dipping and Decorating: Bringing Your Cake Pops to Life
- Questions and answers
Getting Started: Preparing the Cake and Materials
In this section, we will discuss the initial steps required before you can start creating your delicious and visually stunning Easter cake pops. It is essential to properly prepare the cake and gather all the necessary materials to ensure a smooth and successful cake pop-making process.
1. Baking the Cake:
The first step in making cake pops is to bake a cake of your choice. You can opt for a classic vanilla or chocolate flavor, or experiment with unique flavors like lemon or red velvet. Ensure that the cake is moist and dense enough to hold its shape when formed into balls. Once baked, allow the cake to cool completely before proceeding to the next step.
2. Crumbling the Cake:
After the cake has cooled down, use your hands or a food processor to crumble it into fine crumbs. This will create the base for your cake pops. Ensure that there are no large chunks or uneven pieces in the crumbled cake for a smooth texture in your final product.
3. Mixing the Binding Agent:
To bind the cake crumbs together and create a moldable consistency, mix in a generous amount of frosting. You can choose any flavor that complements your cake. Gradually add the frosting to the cake crumbs, stirring until the mixture is well combined. Be careful not to add too much frosting, as it may make the cake pops too soft or difficult to shape.
4. Shaping the Cake Balls:
Using your hands, form the cake and frosting mixture into small, evenly-sized balls. The size of the balls can vary depending on personal preference, but aim for bite-sized portions that are easy to handle. Place the shaped cake balls onto a lined baking sheet, and refrigerate them for at least 30 minutes to firm up.
5. Preparing the Dipping Chocolate:
In the meantime, melt the dipping chocolate in a microwave-safe bowl, following the instructions on the packaging. Stir the chocolate occasionally to ensure smooth and even melting. Prepare any additional decorations or sprinkles that you plan to use for decorating the cake pops.
By completing these steps, you will have successfully prepared the cake and materials needed to create your Easter cake pops. The next section will guide you through the process of dipping and decorating the cake pops to transform them into delightful Easter treats!
Choose Your Cake Flavor
Indulge in the art of customizing your Easter cake pops by choosing from a delectable array of cake flavors. Elevate your culinary prowess as you explore a delightful range of tastes that will leave you and your loved ones craving for more. With each flavor carefully crafted to perfection, you have the liberty to redefine the traditional Easter treat and create a unique sensory experience.
Let your imagination run wild as you consider the possibilities. From the classic richness of chocolate to the tangy sweetness of lemon, each flavor holds its own charm and allure. Dive into the velvety decadence of red velvet or embrace the fragrant hints of vanilla. The choice is yours, and it sets the stage for the entire creation process, ensuring a blend of flavors that will tantalize the palates of those fortunate enough to enjoy your masterpiece.
But perhaps you seek a more daring and adventurous approach. In that case, why not explore the unconventional routes? Delight in the zesty refreshment of citrus or savor the unique combination of coconut and pineapple. With each unexpected choice, you add a touch of intrigue and surprise to your Easter cake pops, ensuring an unforgettable taste sensation unlike any other.
So, how will you choose your cake flavor? Will you opt for familiar favorites, gracefully satisfying anyone’s cravings? Or will you venture into uncharted territories, embarking on a culinary journey that promises excitement and awe? The power to create an unforgettable Easter cake pop experience lies in your hands, as you embrace the freedom to choose a flavor that reflects your creativity and tantalizes the taste buds of all those fortunate enough to receive your delicious creation.
Gather Your Ingredients and Tools
As you embark on creating delicious Easter cake pops, it is essential to gather all the necessary ingredients and tools. Having everything ready and within reach will make the process smooth and enjoyable. Here is a list of the essential items you will need:
| Ingredients | Tools |
| Cake mix | Mixing bowl |
| Frosting | Electric mixer |
| Candy melts | Cake pop sticks |
| Sprinkles or other decorations | Styrofoam block or cake pop stand |
| Food coloring (optional) | Wax or parchment paper |
| Edible markers (optional) | Decorating bags with tips |
| Vegetable shortening (for thinning candy melts) | Microwave or double boiler |
| Small paintbrush (for detailing) | Measuring cups and spoons |
Having a well-equipped kitchen and all the necessary ingredients will ensure a successful cake pop-making experience. Take the time to gather everything beforehand, and you’ll be ready to dive into the fun and creative process of making Easter-themed cake pops!
Bake and Cool the Cake
One of the essential steps in creating delicious Easter cake pops is to start by baking a mouthwatering cake and letting it cool down to the perfect temperature. This crucial process ensures that your cake pops turn out moist and flavorful.
1. Prepare the Cake Batter: Begin by gathering all the necessary ingredients for the cake batter, such as flour, sugar, eggs, butter, and any additional flavorings you desire. Mix them together in a bowl, creating a smooth and well-combined batter.
2. Transfer to the Oven: Carefully pour the cake batter into a greased and lined cake pan, ensuring that it is evenly spread. Place the pan in a preheated oven and bake at the recommended temperature and time specified in your recipe.
3. Test for Doneness: As the aroma of the baking cake fills your kitchen, keep an eye on the oven timer. Once it nears completion, use a toothpick or cake tester to check if the cake is fully baked. Insert the tester into the center of the cake; if it comes out clean or with a few crumbs, the cake is ready.
4. Let the Cake Cool: Once the cake is fully baked, take it out of the oven and allow it to cool in the pan for a few minutes. Then, carefully transfer the cake onto a wire rack to cool completely. This step is vital as it prevents the cake from crumbling when you later prepare it for the cake pops.
Pro Tip: For quicker cooling, you can place the cake in the refrigerator for a short period. However, ensure it is entirely cooled down before moving on to the next steps.
In conclusion, baking and cooling the cake form the foundation for creating delectable Easter cake pops. By following these steps, you ensure that your cake pops possess the perfect texture and taste to delight family and friends during the festive season.
Crumbling and Mixing: Creating the Cake Pop Dough
When it comes to crafting delectable cake pops, one of the essential steps is creating the cake pop dough. This portion of the process involves crumbling and mixing ingredients together to form a smooth and cohesive dough that will serve as the foundation for your artistic creations.
Firstly, you will need a cooled cake of your choice. Give it a crumble using your hands or a fork, breaking it down into fine crumbs. Ensure that any frosting or icing on the cake is removed before crumbling. This step allows for the texture and flavor of the cake to be evenly distributed throughout the dough.
Next, add a binder to the cake crumbs to bring them together. This can be achieved by incorporating a binding agent such as cream cheese, melted chocolate, or even sweetened condensed milk. The purpose of the binder is to give the cake pop dough a smooth and pliable consistency, making it easier to shape into the desired forms.
Using your hands or a mixer, thoroughly mix the cake crumbs and binder until they are evenly combined. This step ensures that the crumbs are fully coated with the binding agent, creating a cohesive dough that will hold its shape when molded into cake pops.
Once the dough is well-mixed, it is ready for the creative and fun part – shaping the cake pops! Take a small portion of the dough at a time and roll it between your hands to form a smooth ball. Ensure that the balls are of the same size, allowing for uniformity in appearance when they are completed.
By following these steps, you can confidently create the perfect cake pop dough. With this foundation in place, you can then move on to the exciting process of decorating and bringing your cake pops to life. So, let your imagination soar and have fun experimenting with different flavors, colors, and designs to make your Easter cake pops truly irresistible!
Crumble the Cake
To begin making your delicious Easter cake pops, the first step is to crumble the cake into fine crumbs. This essential process will provide the perfect texture and consistency for your cake pops.>
Start by breaking apart the cake into small pieces using your hands or a fork. Ensure that the cake is completely cooled before crumbling to prevent any crumbling. To crumble the cake, gently press down on each piece, making sure to break it down into fine crumbs.
You can also use a food processor to crumble the cake quickly and easily. Simply cut the cake into smaller pieces and add them to the food processor. Pulse the cake until it reaches the desired crumb consistency.
Remember to choose a cake flavor that complements your Easter theme, such as vanilla, chocolate, or carrot cake. The crumbled cake crumbs will serve as the base for your cake pops, so make sure they are flavorful and moist.
Once you have successfully crumbled the cake, it’s time to move on to the next step in creating your Easter cake pops.
Add the Binding Agent
In this section, we will explore the crucial step of incorporating the binding agent into the mixture. The binding agent is essential as it ensures that the cake pops maintain their shape and stay together. It acts as a cohesive element that holds all the ingredients together, creating a delicious and tempting treat for Easter celebrations.
Once you have prepared the cake and crumbled it into fine crumbs, it’s time to introduce the binding agent. This special ingredient adds moisture and helps bind the crumbs together, transforming them into a cohesive dough. It acts as the foundation for the cake pops and ensures that they stay intact throughout the entire decorating process.
There are various options for binding agents that you can choose from, depending on your preference. One popular choice is melted chocolate, which not only adds flavor but also acts as a reliable binder. The melted chocolate blends seamlessly with the cake crumbs, creating a smooth and indulgent texture that enhances the taste of the cake pops.
For those seeking a healthier alternative, nut butter can serve as an excellent binding agent. Nut butter provides a creamy texture while also adding a hint of nutty flavor to the cake pops. It brings a delightful richness to the mixture, making it a satisfying treat for both kids and adults.
If you prefer a light and refreshing option, fruit puree can be used as a binding agent. The fruit puree adds a subtle sweetness to the mixture while also providing moisture. It complements the flavors of the cake pops and adds a touch of natural goodness to the overall taste.
Whatever binding agent you choose, it is crucial to add it gradually to the cake crumbs while mixing thoroughly. This ensures that all the crumbs are coated and evenly distributed, resulting in a consistent and well-rounded dough. By incorporating the binding agent effectively, you set the foundation for the next step – shaping and decorating your Easter cake pops.
Mix and Shape the Dough

In this section, we will explore the process of combining the ingredients and forming the dough for your delightful Easter cake pops. Get ready to embark on a culinary adventure as we delve into the art of mixing and shaping the dough.
Firstly, let’s gather the necessary ingredients to create the perfect base for our cake pops. Combine a variety of delectable elements, carefully blending them together to achieve a harmonious mixture. Remember to use synonyms for combine and blend to keep the text engaging.
Once all the ingredients have been melded together, it’s time to shape the dough into compact spheres. Roll the mixture into dense balls, making sure they are uniform in size. You may also experiment with alternative geometric shapes to add an element of creativity to your Easter treats. Stay imaginative, and let your hands sculpt the dough into delightful forms.
Take pleasure in the process as you feel the smooth texture of the dough in your hands, shaping it with care and precision. Enjoy the sensory experience and revel in the anticipation of the final transformation that awaits your cake pops.
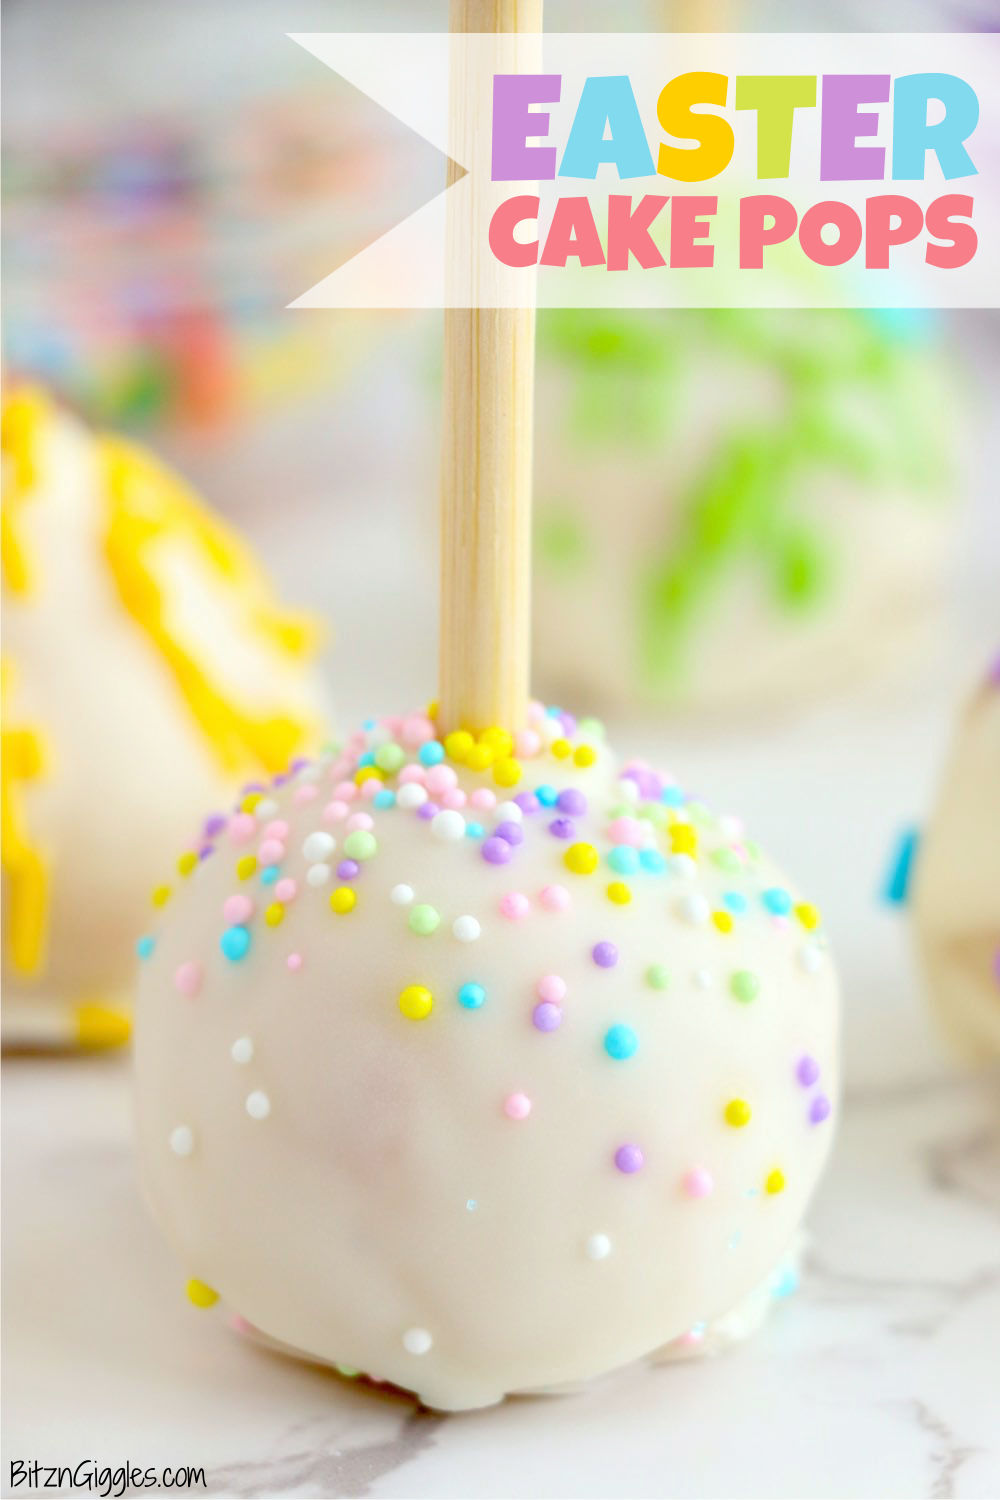
Dipping and Decorating: Bringing Your Cake Pops to Life
Enhancing the visual appeal of your delightful cake pop creations is an essential aspect of the baking process. Elevate your cake pops to a new level of whimsy and charm by dipping and decorating them with a variety of delightful toppings and colors.
Once your freshly baked cake pops have cooled, prepare a luscious coating to add a glossy and delectable finish. Dip each cake pop into the melted chocolate or candy melts, ensuring a smooth and even coverage. The warm chocolate cascading over the surface not only adds a rich flavor but also creates an irresistibly inviting appearance.
While the chocolate is still wet, sprinkle your cake pops with an array of delightful toppings. From colorful sprinkles to finely crushed nuts, the options are endless. These little embellishments bring excitement and texture to your cake pops, transforming them into miniature works of art that are bound to impress.
For a truly eye-catching display, consider using edible pens or icing to draw intricate designs on your cake pops. These artistic touches allow you to personalize your creations and unleash your creativity. Customize each cake pop with unique patterns, swirls, or even small decorative shapes that will capture the attention of anyone who lays their eyes on them.
Remember, though, that less can sometimes be more. A simple yet elegant cake pop with a single color and a delicate drizzle of white chocolate or a few edible pearls can be just as stunning. Feel free to experiment with different combinations and techniques to find the perfect balance of taste and presentation that suits your style.
With each dip and each decoration, you breathe life into your cake pops, turning them from basic baked treats into charming confections that are as delightful to look at as they are to eat. So go ahead, unleash your imagination, and let your cake pops dazzle and delight at your next Easter gathering or any festive occasion.
Questions and answers
What are Easter cake pops?
Easter cake pops are small, bite-sized desserts made from cake crumbs mixed with frosting, shaped into balls or other decorative shapes, and coated in candy melts or chocolate. They are often served on lollipop sticks for easy eating.
How do I make Easter cake pops?
To make Easter cake pops, you will need to bake a cake, crumble it into fine crumbs, mix it with frosting, shape the mixture into balls or other shapes, and chill them in the refrigerator. Then, you can dip the cake pops in melted candy melts or chocolate and decorate them with sprinkles, edible decorations, or icing.
What kind of frosting should I use for Easter cake pops?
You can use any type of frosting for Easter cake pops, but buttercream or cream cheese frosting work particularly well. These frostings add moisture and flavor to the crumbled cake, helping to bind the mixture together.
What are some creative decorating ideas for Easter cake pops?
There are endless possibilities for decorating Easter cake pops. You can use pastel-colored candy melts or chocolate to coat the cake pops and then add colorful sprinkles, edible Easter-themed decorations, or even hand-piped designs with icing. You could also shape the cake pops into Easter eggs, bunnies, or chicks and decorate them accordingly.
Can I make Easter cake pops in advance?
Yes! Easter cake pops can be made in advance and stored in the refrigerator for up to a week. Simply place them in an airtight container or wrap them tightly in plastic wrap. If you plan to decorate them, it’s best to do so closer to the time you will be serving them to ensure the decorations stay fresh and vibrant.
What is a cake pop?
A cake pop is a small piece of cake that is mixed with frosting and then shaped into a ball or other fun shapes. It is usually placed on a lollipop stick and coated with chocolate or candy melts.
Can I use any type of cake for making cake pops?
Yes, you can use any type of cake for making cake pops. Popular choices include chocolate, vanilla, red velvet, and carrot cake. The cake should be baked and cooled before crumbling it and mixing it with frosting.
How do I shape the cake mixture into cake pops?
To shape the cake mixture into cake pops, you can use your hands to roll the mixture into balls. Alternatively, you can use a small ice cream scoop or a cake pop mold to get consistent shapes. Make sure to place a lollipop stick into each cake pop before chilling them in the refrigerator.
What kind of decorations can I use for decorating easter cake pops?
You can use a variety of decorations to decorate Easter cake pops. Some ideas include using pastel-colored candy melts, sprinkles, edible glitter, or even drawing cute Easter designs with food coloring pens. You can also use ready-made Easter-themed cake pop toppers and edible sugar decorations.
How long do cake pops need to chill before decorating?
Cake pops need to chill in the refrigerator for at least 1 hour before you can start decorating them. Chilling helps them hold their shape and makes the coating process easier. If you’re short on time, you can also place them in the freezer for about 20 minutes.