
Are you ready to embark on a fascinating journey into the world of sensory play? If so, prepare to unravel the secrets behind crafting the most captivating, stretchy, and cloud-like slime you’ve ever laid eyes on. Get ready to dive into a recipe that will leave your senses tingling with delight and your hands yearning for more.
Indulge your inner scientist as we delve into the magical realm of polymer creation. Through a meticulous combination of common household ingredients and a touch of creativity, you’ll learn how to transform a humble concoction into a mesmerizing masterpiece that’s sure to mesmerize friends, family, and even yourself. This recipe is perfect for all ages, offering a stress-relieving pastime that will leave you feeling accomplished and giddy with joy.
On this journey to slime perfection, we’ll explore the key components that give this sensory phenomenon its unique qualities. Discover the mesmerizing effects of gentle mixing and kneading, as well as the secrets behind the perfect ratios of ingredients. Unleash your artistic flair as you experiment with an array of colors, textures, and even scents, turning a simple bowl of slime into a delightful masterpiece that’s as visually stunning as it is satisfying to touch.
Step-by-Step Guide to Making Stretchy and Fluffy Slime at Home
In this section, we will provide you with a comprehensive guide on how to create your own stretchy and fluffy slime right in the comfort of your own home. Follow these simple steps to achieve the perfect consistency and texture for your homemade slime.
Step 1: Gather all the necessary ingredients such as glue, water, borax, and food coloring. These ingredients will work together to create the desired stretchy and fluffy texture of the slime.
Step 2: Start by pouring a generous amount of glue into a mixing bowl. The glue acts as the base for your slime and will provide the stretchiness and stickiness needed for the perfect slime consistency.
Step 3: Add water to the glue, gradually mixing it in until the two substances are well combined. This step helps to dilute the glue and make it easier to work with during the slime-making process.
Step 4: Now, it’s time to add the key ingredient for achieving the desired texture – the borax solution. In a separate bowl, dissolve borax in warm water, creating a solution that will activate the glue and turn it into slime. Slowly pour the borax solution into the glue mixture while stirring continuously.
Step 5: As you mix the borax solution into the glue, you will notice the mixture transforming into a slimy consistency. Continue stirring until the slime starts to pull away from the sides of the bowl and forms a cohesive mass.
Step 6: At this stage, you can add a few drops of your favorite food coloring to the slime mixture, giving it a vibrant and fun appearance. Mix the food coloring evenly to ensure the entire slime is colored.
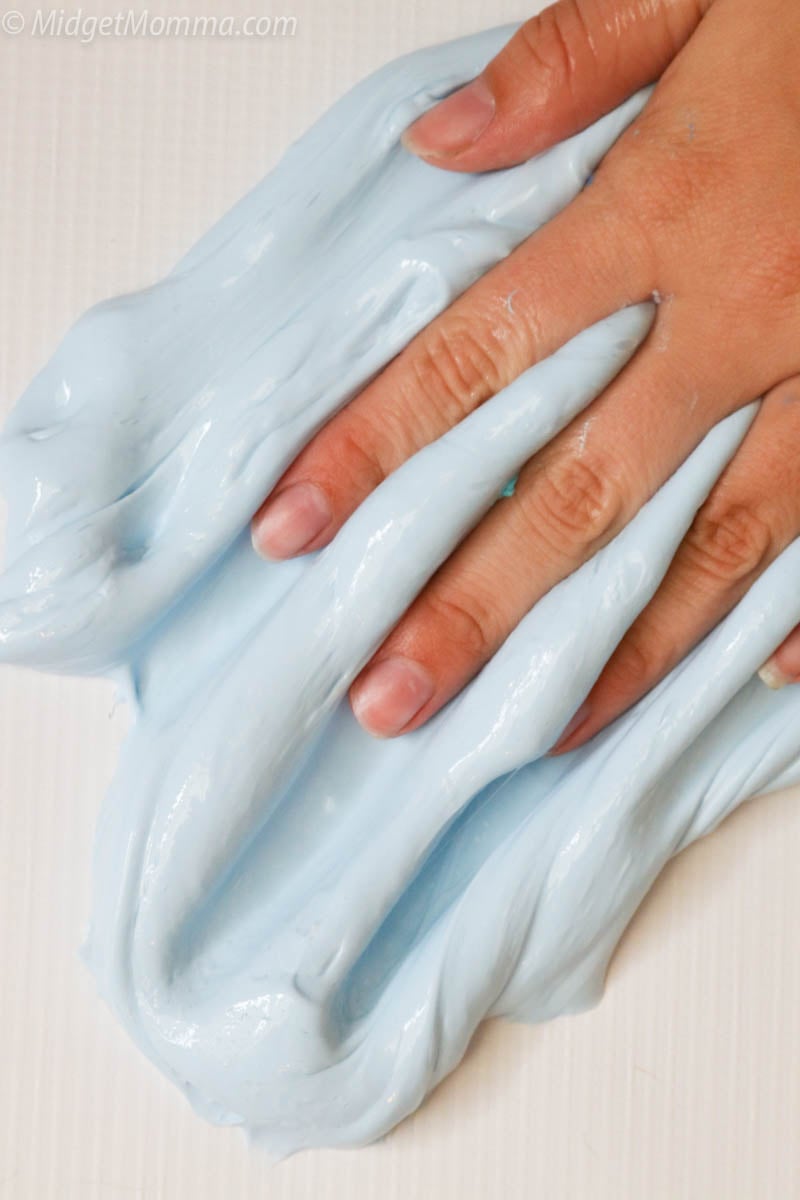
Step 7: Next, it’s time to knead the slime to enhance its stretchiness and fluffiness. Remove the slime from the mixing bowl and begin to knead it with your hands. Stretch it, fold it, and twist it to incorporate air and give the slime that satisfying fluffy texture.
Step 8: Finally, once the slime reaches your desired consistency, it is ready to be enjoyed! You can store your homemade stretchy and fluffy slime in an airtight container to keep it fresh for future play sessions.
By following these step-by-step instructions, you can create your very own stretchy and fluffy slime at home. Experiment with different colors and textures to make your slime unique and captivating. Have fun and enjoy the process of making and playing with your homemade slime!
What You’ll Need

To create your own batch of stretchy and fluffy slime, there are several ingredients and materials you’ll need. These essential components will help you achieve the desired texture and consistency for your slime-making adventure. Here is a list of what you’ll need:
1. Base Ingredient: To start, you’ll require a base material that will serve as the foundation for your slime. This could be a combination of glue or a suitable alternative that provides a sticky and stretchy consistency.
2. Activator: An activator is necessary to bind the base ingredient together and create a cohesive slime texture. This can be in the form of a liquid activator or a powdered one that initiates chemical reactions when mixed with the base.
3. Colorants: If you want to add some visual appeal to your slime, colorants are a must. These can be in the form of liquid dyes, food coloring, or pigment powders that allow you to bring your slime to life with vibrant hues.
4. Add-ins: To make your slime even more exciting, consider adding various add-ins. These can be glitter, foam beads, sequins, or any other small materials that enhance the texture or appearance of your slime.
5. Mixing Tools: You’ll need a set of mixing tools to combine and blend your ingredients effectively. This could include a mixing bowl, spatula, or spoon, ensuring that you can achieve a smooth and uniform consistency.
6. Storage Container: Lastly, don’t forget to have a storage container ready to preserve your homemade slime. This can be a resealable bag or a plastic container with an airtight lid, preventing the slime from drying out and extending its lifespan.
With these ingredients and tools at hand, you’re all set to dive into the world of slime-making and create your very own stretchy and fluffy masterpiece!
Gather these ingredients and materials:
In order to create your own batch of homemade slime, you will need a handful of ingredients and materials. Ensuring you have all the necessary components before starting the process is essential for a successful outcome. Below is a list of items you will need to gather:
- Glue
- Borax
- Water
- Food Coloring or Glitter (optional)
- A Mixing Bowl
- A Spoon or Stirring Stick
- A Measuring Cup
- A Plastic Bag or Container for Storage
These ingredients and materials will provide the foundation for your slime-making adventure. The glue serves as the main base for the slime, while the borax and water help create the desired texture and consistency. Adding food coloring or glitter is a fun way to personalize your slime and make it visually appealing. The mixing bowl, stirring stick, and measuring cup are all essential tools for combining and measuring the ingredients. Finally, the plastic bag or container will be used to store your slime and keep it fresh for future play.
Now that you have gathered all these ingredients and materials, you are ready to embark on the exciting journey of making your very own stretchy and fluffy slime!
Elmer’s white school glue
Why choose Elmer’s white school glue?
Elmer’s white school glue is renowned for its reliable performance and high-quality formulation. Made from non-toxic materials, this glue is safe to use, making it perfect for slime-making projects involving children and adults alike.
One of the key features of Elmer’s white school glue is its ability to provide excellent adhesion. This characteristic ensures that the slime maintains its shape and elasticity, allowing for satisfying stretching and squishing experiences. The glue’s strong bond also enhances the durability of the slime, so you can enjoy its playability for an extended period.
Additionally, Elmer’s white school glue offers a smooth texture, making it easier to mix with other slime ingredients. Whether you’re incorporating food coloring or glitter, this glue seamlessly blends with them, resulting in a vibrant and visually appealing slime.
Furthermore, Elmer’s white school glue is highly accessible and readily available in most craft stores and online marketplaces. With its affordable price, it has become the go-to option for slime enthusiasts.
In conclusion, Elmer’s white school glue is an essential component in creating the perfect stretchy and fluffy slime. Its reliable performance, excellent adhesion, smooth texture, and accessibility make it the ideal choice for all your slime-making endeavors.
Liquid starch
When it comes to creating the ultimate stretchy and fluffy slime, one key ingredient that you need to have in your arsenal is liquid starch. This magical substance plays a vital role in transforming a simple mixture of glue and water into a mesmerizing, squishy slime that is perfect for sensory play and stress relief.
Derived from natural sources, liquid starch acts as a binding agent and thickener when combined with the other ingredients, giving your slime its unique texture and stretchiness. It is known for its ability to create a gooey, elastic consistency that can be molded, stretched, and pulled without losing its shape.
One of the advantages of using liquid starch in your slime recipe is its ease of use. Unlike some other ingredients, liquid starch does not require any complicated measurements or special techniques. Simply adding it to your glue mixture and mixing thoroughly will result in a smooth and glossy slime that will delight both children and adults alike.
Another great feature of liquid starch is its versatility. It can be used to make various types of slime, from basic clear slime to vibrant colored slime or even glitter slime. Depending on your preferences, you can adjust the amount of liquid starch in your recipe to achieve the desired consistency and level of stretchiness.
Lastly, liquid starch is a safe and non-toxic ingredient, making it suitable for children of all ages. However, it is important to follow the instructions carefully and avoid ingesting or getting the liquid starch in contact with the eyes or mouth, as it may cause irritation.
- Binding agent and thickener
- Elastic consistency
- Easy to use
- Versatile
- Safe and non-toxic
In conclusion, liquid starch is a key ingredient in creating the perfect stretchy and fluffy slime. Its ability to bind and thicken the slime mixture, while providing an elastic consistency, makes it an essential component for slime enthusiasts. With its ease of use, versatility, and safety, liquid starch is a must-have for anyone looking to make their own slime at home.
Food coloring (optional)
Enhance the visual appeal of your slime creation by adding a touch of vibrant color with food coloring. While not essential to the slime-making process, food coloring can add an extra element of fun and creativity to your homemade slime.
If you’re looking to experiment with different colors, food coloring provides a wide range of options to choose from. Whether you prefer bold and bright shades or subtle pastel hues, there is a food coloring available to suit your preferences. Mix and match different colors to create unique and eye-catching combinations that will make your slime stand out.
When incorporating food coloring into your slime mixture, it is important to start with a small amount and gradually add more as needed. This will allow you to control the intensity of the color and achieve the desired shade. Remember that a little food coloring can go a long way, so it’s best to err on the side of caution and add more if necessary.
Additionally, if you prefer a marbled or swirled effect, you can add multiple colors of food coloring to create a beautiful pattern in your slime. Gently fold the different colored slimes together, being careful not to overmix, to create a visually stunning and unique slime masterpiece.
| Pros: |
|
| Cons: |
|
Overall, food coloring provides an optional but fun element to the slime-making process. Whether you choose to add a subtle hint of color or create a vibrant rainbow masterpiece, food coloring can elevate your slime creation to a whole new level of visual appeal.
Mixing bowl
In the process of creating your own unique and satisfying slime, one of the most essential tools you will need is a mixing bowl. This crucial component serves as the vessel where the various ingredients come together to form the perfect slime consistency.
The mixing bowl provides a spacious and convenient area for you to combine the different elements of your slime recipe. It allows you to easily measure out and mix together the necessary components in order to achieve the desired texture and appearance. The smooth interior surface of the bowl ensures that all the ingredients are evenly distributed, resulting in a uniform and cohesive slime mixture.
When selecting a mixing bowl for your slime-making adventures, it is important to choose a bowl that is large enough to accommodate all the ingredients and provide ample room for mixing. A bowl with high sides can help prevent any accidental spills or splatters during the stirring process, keeping your slime-making area clean and tidy.
Additionally, it can be beneficial to have multiple mixing bowls on hand, especially if you enjoy experimenting with different slime recipes or colors. This allows you to easily switch between batches without the need for constant cleaning or waiting for the bowl to become available again.
Remember, the process of creating slime is not only about the final product, but also the joy and creativity that comes with it. Having a reliable and versatile mixing bowl is an important element in making the slime-making experience enjoyable and successful.
So, whether you’re a seasoned slime enthusiast or a beginner looking to embark on this fun and therapeutic craft, don’t underestimate the significance of a good mixing bowl. It will be your trusted companion throughout your slime-making journey, ensuring that every batch turns out just the way you envision it – stretchy, fluffy, and utterly satisfying.
Spoon
Utensil, implement, or tool used for eating or serving food. Its typical shape consists of a handle with a shallow bowl-shaped scoop on one end. In cooking, spoons are essential for measuring, mixing, and stirring ingredients. They are also commonly used for eating or serving various dishes, including soups, stews, and desserts.
The versatility of spoons makes them indispensable in the kitchen and dining table. From the smallest teaspoon to the larger serving spoon, they come in a variety of sizes and materials. Some spoons are specially designed for specific purposes, such as slotted spoons for draining liquids or teaspoons for adding precise amounts of ingredients. In addition to their practical uses, spoons can also have decorative or symbolic significance.
Historically, spoons have been crafted from a range of materials including wood, bone, ivory, and metal. Today, stainless steel and silver are common choices due to their durability and hygienic properties. A well-designed spoon can enhance the dining experience, ensuring a comfortable grip and a pleasing balance of weight.
When using a spoon, etiquette dictates that it should be held in the right hand and placed horizontally in the mouth, avoiding loud or excessive noise.
In conclusion, the spoon is more than just a utensil; it is a fundamental tool that serves a multitude of purposes in the culinary world. Its design, functionality, and cultural significance have made it a staple in any kitchen or dining setting.
Instructions
Here’s a step-by-step guide on creating your own batch of satisfyingly elastic and fluffy slime using a simple and straightforward method.
| Step 1: | Start by gathering all the necessary ingredients. You will need a clear glue, liquid starch, water, and your choice of food coloring. |
| Step 2: | In a mixing bowl, pour in the clear glue and add a few drops of your desired food coloring. Mix them together until the color is evenly distributed. |
| Step 3: | Gradually add liquid starch to the glue mixture while stirring continuously. Keep adding and stirring until the slime starts to come together and become less sticky. |
| Step 4: | Once the slime begins to take shape, knead it with your hands. This will help improve its texture and elasticity. |
| Step 5: | If the slime feels too sticky, you can add more liquid starch in small increments and continue kneading until the desired consistency is achieved. |
| Step 6: | Enjoy playing with your homemade slime! Store it in an airtight container when not in use to preserve its freshness and stretchiness. |
Follow these instructions carefully, and you’ll soon have a wonderful batch of stretchy and fluffy slime to enjoy and show off to your friends!
Questions and answers
What is the recipe for making stretchy and fluffy slime?
The recipe for making stretchy and fluffy slime includes mixing equal parts of clear glue and liquid detergent, adding some baking soda and water, and stirring until the desired consistency is achieved.
Can I use any type of glue for making the slime?
It is recommended to use clear glue as it gives better results and makes the slime stretchier and fluffier.
What can I use to make the slime stretchier?
You can add a bit more liquid detergent or some contact lens solution to the slime mixture to make it more stretchy.
How long does it take for the slime to become stretchy and fluffy?
Typically, it takes about 5-7 minutes of stirring and kneading the slime mixture for it to become stretchy and fluffy.
Can I add color or glitter to the slime?
Yes, you can add food coloring or glitter to the slime mixture to give it a colorful or sparkly appearance. Just make sure to mix it well before the slime solidifies.
What are the ingredients needed to make stretchy and fluffy slime?
To make stretchy and fluffy slime, you will need glue, water, borax powder, shaving cream, and food coloring (optional).
Is borax powder necessary for making stretchy slime?
Yes, borax powder is a key ingredient in making stretchy slime. It acts as a binding agent and helps create the desired texture.
Can I substitute borax powder with any other ingredient?
Yes, if you don’t have borax powder or prefer not to use it, you can substitute it with liquid starch or contact lens solution that contains boronic acid.
How long does it take to make the perfect stretchy and fluffy slime?
The process may take around 15-20 minutes, depending on your experience and the recipe you are following. It’s essential to mix the ingredients thoroughly to achieve the desired consistency.
What should I do if my slime turns out too sticky?
If your slime is too sticky, you can add a little bit more borax solution (made by dissolving borax powder in water) while kneading it. Gradually add small amounts until the stickiness disappears and the slime becomes stretchy.


