Have you ever wondered how to unleash your creativity and engage in a unique hands-on experience? Look no further, as this article will unveil the secrets behind a mesmerizing and tactile creation that will surely captivate your imagination. Prepare yourself for an enchanting journey into the world of homemade squishy substances that are both captivating and easy to make.
Unleashing the artist within has never been more exciting with the art of concocting your very own mesmerizing substance. This article will guide you through a variety of versatile and enticing recipes that will unlock your creative potential. Whether you prefer dazzling colors, unique textures, or captivating scents, this guide will empower you with the knowledge to craft your sensory masterpiece at any skill level.
Revolutionize Your Health & Lifestyle!
Dive into the world of Ketogenic Diet. Learn how to lose weight effectively while enjoying your meals. It's not just a diet; it's a lifestyle change.
Learn MoreWith just a few simple ingredients and a pinch of imagination, you can indulge in an extraordinary hands-on experience. Let your mind wander as you mix, mold, and stretch mesmerizing substances that will astound your senses. From gooey and stretchy to fluffy and squishy, the possibilities are endless. What’s more, these recipes are crafted with beginners in mind, ensuring that you don’t need any prior experience to embark on this creative journey.
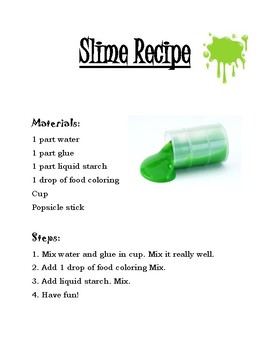
- Basic Ingredients for Slime
- Glue, Borax, Water
- Alternative ingredients: Cornstarch, Liquid Starch
- Fluffy Slime Recipe
- Ingredients: Glue, Shaving Cream, Contact Solution, Food Coloring
- Step-by-step instructions: Mixing adhesive and foam shaving, adding solution for contacts, adding coloring for food, kneading the substance
- Tips for achieving the perfect fluffy texture
- Clear Slime Recipe
- Ingredients: Clear Glue, Liquid Starch, Water, Glitter (optional)
- Step-by-step instructions: Mixing clear glue and liquid starch, adding water, adding glitter, kneading the slime
- Questions and answers
Basic Ingredients for Slime
When it comes to creating your own slimy concoction, having the right ingredients is essential. These key components are essential for achieving the desired texture and consistency, allowing you to experiment and create various types of slime. In this section, we will explore the fundamental elements that make up the foundation of any slime recipe.
1. Adhesive: The adhesive serves as the base for your slime, providing the necessary stickiness and hold. Commonly used adhesives include white glue, clear glue, or even glitter glue for an extra touch of sparkle.
2. Activator: The activator is what transforms the adhesive into a stretchy and squishy slime. It helps to bind the molecules together, giving the slime its unique properties. Popular activators include borax, liquid starch, and contact lens solution.
3. Coloring: Adding color to your slime can make it visually appealing and add an extra element of fun. Food coloring, acrylic paint, or even powdered pigments can be used to achieve the desired hue.
4. Texture Enhancer: If you want to take your slime to the next level, consider adding texture enhancers such as foam balls, glitter, or beads. These additions can provide a unique sensory experience and make your slime even more enjoyable to play with.
5. Fragrance: While optional, adding a pleasant scent to your slime can enhance the overall sensory experience. Essential oils or scented extracts can be used to add a delightful aroma to your creation.
Remember, experimenting with different ratios and combinations of these ingredients is part of the fun. Don’t be afraid to get creative and personalize your slime recipe to suit your preferences!
Glue, Borax, Water
In this section, we will explore the essential ingredients needed to create your own slime masterpiece. Combining glue, borax, and water, you can unleash your creativity and experiment with various textures and colors. These simple yet powerful elements serve as the foundation for countless slime recipes, offering endless possibilities for beginners and experienced slime enthusiasts alike.
Glue: The primary ingredient in slime-making, glue serves as the base and provides the necessary stickiness. Whether you opt for clear glue or white glue, it acts as the bonding agent that brings the other ingredients together. The glue’s viscosity and adhesive properties determine the consistency of your slime.
Borax: A common activator for slime, borax helps to create the desired stretchy and slimy texture. It works by forming cross-links between the glue molecules, resulting in a solid and elastic substance. Although borax should be used in moderation to avoid excessive stiffness, it is a key ingredient to achieve that perfect slime consistency.
Water: Water plays a crucial role in diluting the glue and borax, allowing for better mixing and consistency control. It helps to balance the glue and borax ratio, making the slime more pliable and easier to manipulate. Adjusting the amount of water enables you to fine-tune the slime’s characteristics, such as its stretchiness and softness.
By understanding and experimenting with the combination of glue, borax, and water, you can create a wide range of slime variations. From fluffy and cloud-like slimes to glossy and jiggly ones, the possibilities are limited only by your imagination. Remember to follow safety precautions and measurements to ensure a successful slime-making experience!
Alternative ingredients: Cornstarch, Liquid Starch
In this section, we will explore alternative ingredients that can be used to make slime. Instead of the traditional ingredients commonly used in slime recipes, such as glue and borax, we will focus on two alternatives: cornstarch and liquid starch.
Firstly, cornstarch can be a great alternative to glue in slime recipes. It is a fine, powdery substance that is commonly used as a thickening agent in cooking. When mixed with water, cornstarch forms a non-Newtonian fluid, which means its viscosity can change depending on the amount of pressure applied. This unique property of cornstarch makes it an interesting ingredient to use in slime-making. By combining cornstarch with water and other additives like food coloring or glitter, you can create a gooey and stretchy slime that is fun to play with.
Next, liquid starch is another alternative ingredient that can be used in slime recipes. Liquid starch is a laundry product that is commonly used to stiffen fabrics and reduce wrinkles. When used in slime-making, liquid starch acts as a binding agent that helps hold the ingredients together and create a cohesive texture. To make slime using liquid starch, you can mix it with a combination of glue and water. The liquid starch reacts with the glue, causing the mixture to thicken and form a stretchy slime. Liquid starch can be a convenient alternative for those who prefer not to use borax or other traditional slime activators.
When using alternative ingredients like cornstarch or liquid starch in slime recipes, it is important to remember that the ratios and measurements may vary compared to traditional recipes. Experimentation and adjusting the amounts of ingredients might be necessary to achieve the desired consistency and texture. Additionally, it is essential to follow proper safety precautions and ensure the ingredients are child-friendly and non-toxic.
- Cornstarch can be used as an alternative to glue in slime recipes.
- Liquid starch is a convenient alternative to traditional slime activators.
- Experimentation may be needed to find the right ratios when using alternative ingredients.
- Safety precautions should always be taken when making slime, especially when using alternative ingredients.
Fluffy Slime Recipe
Welcome to the section dedicated to an exciting variation of slime known as fluffy slime! In this section, we will explore a unique recipe that will enable you to create a wonderfully light and airy slime. Experience the joy of working with a squishy, fluffy texture that is sure to captivate both kids and adults alike.
For those desiring a new twist on traditional slime, fluffy slime is the perfect choice. By incorporating a few additional ingredients and incorporating specific techniques, you will be able to produce a slime that is incredibly soft, stretchy, and voluminous. The resulting texture will have an irresistibly cloud-like appearance that is both visually appealing and satisfying to play with.
- Ingredients:
- – White school glue
- – Shaving cream
- – Cornstarch
- – Contact lens solution
- – Food coloring (optional)
- Step 1:
- In a bowl, pour a generous amount of white school glue. The glue will act as the base for your fluffy slime.
- Step 2:
- Add shaving cream to the glue in the bowl. The shaving cream will give the slime its airy and fluffy consistency. Adjust the amount according to your desired fluffiness.
- Step 3:
- Sprinkle cornstarch onto the mixture and begin kneading it together. This will thicken the slime and give it a more solid structure.
- Step 4:
- Gradually add contact lens solution while continuing to knead the mixture. The contact lens solution acts as the slime activator, giving it the necessary elasticity and stretchiness.
- Step 5:
- If desired, add a few drops of food coloring to achieve your preferred slime color. Mix it well.
- Step 6:
- Continue kneading the slime until it reaches the desired fluffy consistency. It should be smooth, non-sticky, and highly malleable.
Once you’ve finished following these simple steps, you’ll have your very own homemade fluffy slime ready to enjoy. It’s a fantastic sensory toy that you can stretch, squish, and pull apart, providing hours of entertainment. So, get your ingredients together, follow the recipe, and start creating your fluffy masterpiece!
Ingredients: Glue, Shaving Cream, Contact Solution, Food Coloring
Exploring the components that bring slime to life; summoning a gooey concoction with everyday items found in your household.
When it comes to crafting your own slime, the combination of ingredients is key. In this section, we will delve into the essential components required to make a mesmerizing batch of slime: glue, shaving cream, contact solution, and food coloring. Each ingredient plays a vital role in creating the perfect texture, fluffiness, and color of your slime.
|
Glue |
Glue acts as the primary binding agent in slime, holding all the other ingredients together. It provides the base structure and viscosity needed to achieve a satisfyingly stretchy and squishy consistency. |
|
Shaving Cream |
Shaving cream adds a delightful fluffy texture to your slime. As it is mixed with the glue, the shaving cream expands, creating air pockets that give your slime a pillowy softness and enhanced tactile experience. |
|
Contact Solution |
Contact solution is the magical ingredient that transforms the gooey mixture into a cohesive slime. It contains a precise amount of sodium borate, which acts as a cross-linking agent, creating bonds between the molecules of glue and causing the slime to thicken and stretch. |
|
Food Coloring |
Food coloring is what adds a vibrant burst of color to your slime. With a spectrum of options available, you can choose to create slime in a myriad of shades, from bright neon to pastel hues. It allows you to customize your slime and make it uniquely yours. |
With these four fundamental ingredients, you have an endless realm of possibilities to explore in the realm of slime-making. The precise measurements and ratios of these components can be adjusted to achieve different consistencies, textures, and colors, providing constant excitement and experimentation for beginner slime enthusiasts.
Step-by-step instructions: Mixing adhesive and foam shaving, adding solution for contacts, adding coloring for food, kneading the substance
| Step 1: | Mix adhesive |
| Step 2: | Combine foam shaving |
| Step 3: | Add solution for contacts |
| Step 4: | Include coloring for food |
| Step 5: | Knead the substance |
Tips for achieving the perfect fluffy texture
When it comes to achieving the perfect fluffy texture for your homemade slime, there are a few key tips to keep in mind. These techniques will help you create a slime that is light, airy, and irresistibly fluffy.
1. Incorporate air: One of the secrets to achieving a fluffy texture is to incorporate air into your slime. This can be done by stretching and pulling the slime during the mixing process. Gently kneading and twisting the slime will help create air bubbles, resulting in a lighter and fluffier consistency.
2. Use the right ingredients: The ingredients you choose can greatly impact the texture of your slime. Opt for lightweight ingredients such as foam beads or shaving cream to add volume and fluffiness. Avoid using heavy or thick ingredients that can weigh down your slime and make it less fluffy.
3. Experiment with ratios: Finding the perfect ratio of ingredients is key to achieving a fluffy texture. Play around with different amounts of glue, water, and activator until you find the right balance. Adding more activator can help create a firmer slime that holds its shape, while adding more water can make the slime lighter and fluffier.
4. Don’t overmix: Overmixing your slime can result in a dense and less fluffy texture. Once you have achieved a smooth and stretchy consistency, stop mixing to preserve the fluffiness. Overmixing can break down the air bubbles and make the slime lose its fluffy texture.
5. Add texture enhancers: To further enhance the fluffiness of your slime, consider adding texture enhancers such as instant snow or baby powder. These ingredients can create a snow-like effect and add an extra dimension of fluffiness to your slime.
Remember, achieving the perfect fluffy texture may require some trial and error. Don’t be afraid to experiment with different techniques and ingredients until you find the combination that works best for you. With these tips, you’ll be well on your way to creating irresistibly fluffy slime at home!
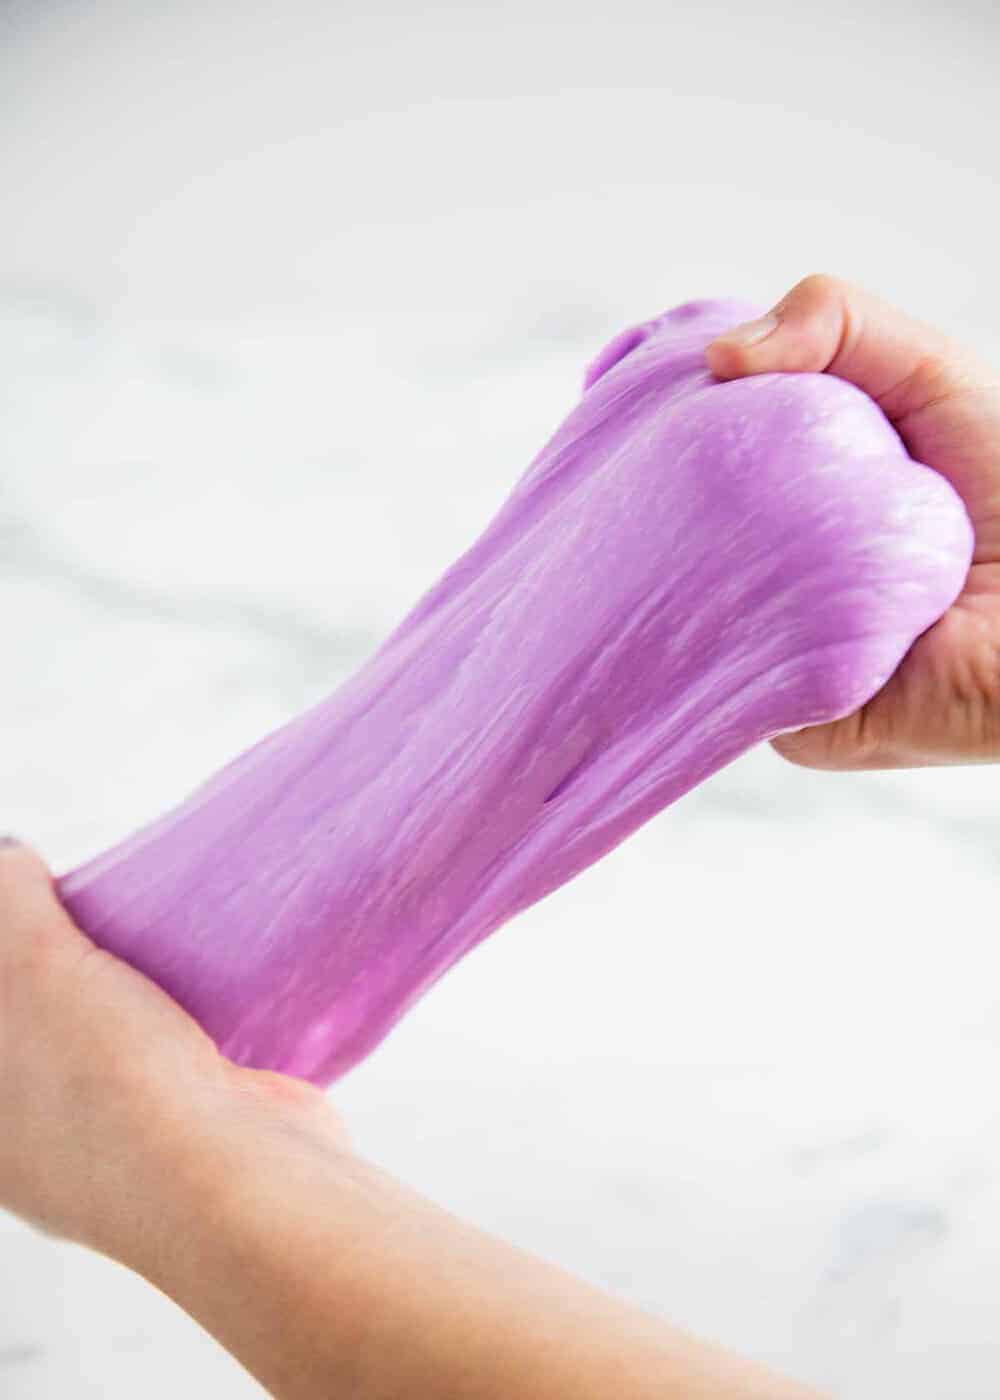
Clear Slime Recipe
In this section, we will explore an easy and straightforward method to create your own transparent slime at home. This recipe will guide you through the steps required to achieve a clear and stretchy slime without using any complicated ingredients or techniques.
To begin, gather the necessary ingredients: glue, liquid starch, water, and a bowl. Glue acts as the base of the slime, providing the structure and stretchiness. Liquid starch is a key ingredient that helps to activate and solidify the slime, giving it its signature texture. Water is used to dilute the mixture and make it easier to combine the ingredients.
Start by pouring a desired amount of glue into the bowl. You can experiment with the quantity depending on how much slime you want to make. Add a small amount of water to the glue and mix thoroughly until they are well combined. This step helps to make the glue more fluid and easier to work with.
Next, gradually add liquid starch to the glue mixture while stirring continuously. You may need to add more or less starch depending on the consistency you desire. Keep stirring until the slime starts to come together and becomes less sticky.
Once the slime is no longer sticking to your hands and has a clear and glossy appearance, you can remove it from the bowl and knead it with your hands. This process helps to further mix the ingredients and achieve the desired consistency. If the slime still feels too sticky, you can add a small amount of liquid starch and continue kneading until it reaches the desired texture.
Now that your clear slime is ready, you can have fun stretching, twisting, and playing with it. Store it in an airtight container to extend its shelf life and prevent it from drying out. Remember to regularly check the slime for any signs of mold or degradation.
Experiment with different add-ins, such as glitter, food coloring, or even small toys, to personalize your clear slime and make it even more enjoyable. With this simple recipe, you can easily create a mesmerizing and satisfying clear slime right in the comfort of your own home.
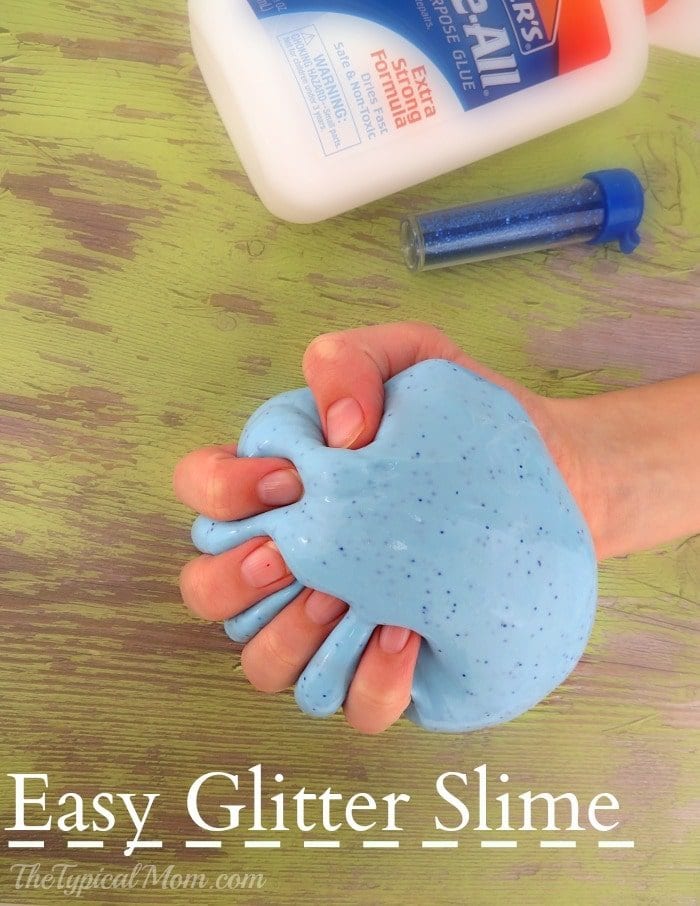
Ingredients: Clear Glue, Liquid Starch, Water, Glitter (optional)
In this section, we will explore the key ingredients required to create your own slime at home. By using a combination of clear glue, liquid starch, water, and glitter (if desired), you can easily make slime that is both fun and customizable. These ingredients will allow you to achieve a stretchy and gooey texture, perfect for hours of entertainment. So, let’s dive into each of these essential components and learn more about their roles in making slime.
| Ingredient | Role |
|---|---|
| Clear Glue | The primary component of slime, clear glue provides the base for the slime’s structure. It gives the slime its stretchy and flexible properties, allowing it to be pulled and molded. |
| Liquid Starch | Liquid starch acts as the activator in slime-making. It helps to bind the glue molecules together, creating a cohesive and slimy consistency. It is important to use liquid starch specifically formulated for crafts, as other types may not produce the desired results. |
| Water | Water is used to dilute the glue and liquid starch, making it easier to combine the ingredients. It also contributes to the overall texture and pliability of the slime. |
| Glitter (optional) | If you want to add some extra sparkle and visual appeal to your slime, glitter can be incorporated. It adds a fun and dazzling element to the slime, making it even more enjoyable to play with. |
By understanding the role each ingredient plays in making slime, you’ll be able to create your own unique recipes and experiment with different variations. So gather your clear glue, liquid starch, water, and glitter (if desired), and get ready to embark on a slimy adventure!
Step-by-step instructions: Mixing clear glue and liquid starch, adding water, adding glitter, kneading the slime
Follow these simple steps to create your own homemade slime using clear glue, liquid starch, water, glitter, and a little bit of creativity!
Mixing the ingredients:
In a clean bowl, combine equal parts of clear glue and liquid starch. The clear glue will provide the base for your slime, while the liquid starch will act as the activator. Stir the mixture thoroughly until the two ingredients are well combined.
Adding water:
Gradually add a small amount of water to the glue and starch mixture. Adding water will help adjust the consistency of the slime, making it more stretchy or gooey according to your preference. Stir the mixture as you add water until you achieve the desired texture.
Adding glitter:
To add some sparkle to your slime, sprinkle in a pinch or two of glitter. You can choose any color or combination of colors to make your slime shine. Mix the glitter into the slime mixture until it is evenly distributed.
Kneading the slime:
Once you’ve added the glitter, it’s time to get your hands dirty! Use your hands to knead and stretch the slime. This will help activate the glue and starch mixture further, resulting in a smoother and more cohesive slime. Continue kneading until the slime reaches the desired consistency. If it’s too sticky, you can add a small amount of liquid starch; if it’s too stiff, add a little water.
Note: While making slime can be a fun and creative activity, it’s essential to take necessary precautions and supervise young children to ensure safe and proper handling of the ingredients.
Now that you know the step-by-step instructions for mixing clear glue and liquid starch, adding water, adding glitter, and kneading the slime, it’s time to let your imagination run wild and create your own unique slime masterpieces!
Questions and answers
What ingredients do I need to make slime at home?
To make slime at home, you will need glue, borax or liquid starch, food coloring, and water. You can also add glitter or other fun additions to customize your slime.
How long does it take to make slime?
The time it takes to make slime can vary depending on the recipe and your experience. However, most slime recipes only take around 5-10 minutes to mix together and create the desired texture.
Can I make slime without borax or liquid starch?
Yes, there are alternative ingredients you can use to make slime without borax or liquid starch. Some options include using contact lens solution, baking soda, or even laundry detergent. These alternatives are safer and more easily available.
What can I do if my slime is too sticky?
If your slime is too sticky, you can add a small amount of borax or liquid starch to the mixture. Start by adding a small quantity and kneading it in thoroughly. Repeat until you reach the desired consistency.
How can I store slime after making it?
After making slime, store it in an airtight container or a resealable plastic bag. This will help prevent it from drying out. You can also add a few drops of water if the slime becomes dry over time.
Can I make slime at home without borax?
Yes, you can easily make slime at home without using borax. There are alternative ingredients such as liquid starch, laundry detergent, or even contact lens solution that can be used as substitutes for borax. These ingredients will help create a similar slimy texture.
What are some common mistakes beginners make when making slime?
Some common mistakes beginners make when making slime include using incorrect measurements of ingredients, failing to mix thoroughly, or adding too much activator. It’s important to carefully follow the recipe instructions and measure the ingredients accurately. Additionally, make sure to mix the ingredients well until they are fully incorporated. If the slime is too sticky, primarily due to excess activator, you can try adding a little bit of lotion to fix it.
How can I keep my slime from drying out?
To prevent slime from drying out, store it in an airtight container or a sealed plastic bag when you’re not playing with it. It is also recommended to apply a small amount of lotion or slime conditioner before storing to keep it moisturized. If you notice your slime becoming dry, you can add a few drops of water or slime activator to make it stretchy and pliable again.
What can I do if my slime is too runny?
If your slime is too runny, it means that you may have added too much liquid or not enough activator. To fix this, you can try adding a small amount of slime activator, such as borax solution or contact lens solution, to the mixture and kneading it until the desired consistency is reached. Alternatively, you can add a little bit of cornstarch or liquid starch to the slime to thicken it up. Remember to add the activator gradually to avoid making it too stiff.
Are there any variations or add-ins that I can use to customize my slime?
Yes, there are countless variations and add-ins to customize your slime. You can add glitter, sequins, or small beads for a sparkly effect. Food coloring can be used to create vibrant colors. You can also experiment with different scents by adding a few drops of essential oils or fragrance oils. Additionally, you can mix different types of slime together to create new textures and colors. The possibilities are endless when it comes to customizing your slime!